
Shopping for back-to-school supplies? Instead of throwing away last year’s backpack, why not give it a makeover? This DIY velvet fashion backpack idea gives you a beautiful, customized backpack with low cost and minimal effort.
Materials
1 Backpack (your old one or a new one)
1 Hot Glue Gun
1 Wooden Stick
1 Scissor
1 Pencil
1 Candle
1 Glue
White Vinyl Tape
Double-Sided Tape
Velvet Fabric (or any fabric of your choice)
Optional
Flower Embroidery Patch
Tassel
Instructions
- Lay the backpack flat, use vinyl tape to cover the bag’s front pocket area, trace over the area’s edges with a pencil and peel it off. Use this same method to cover any other areas you wish to attach the velvet fabric.
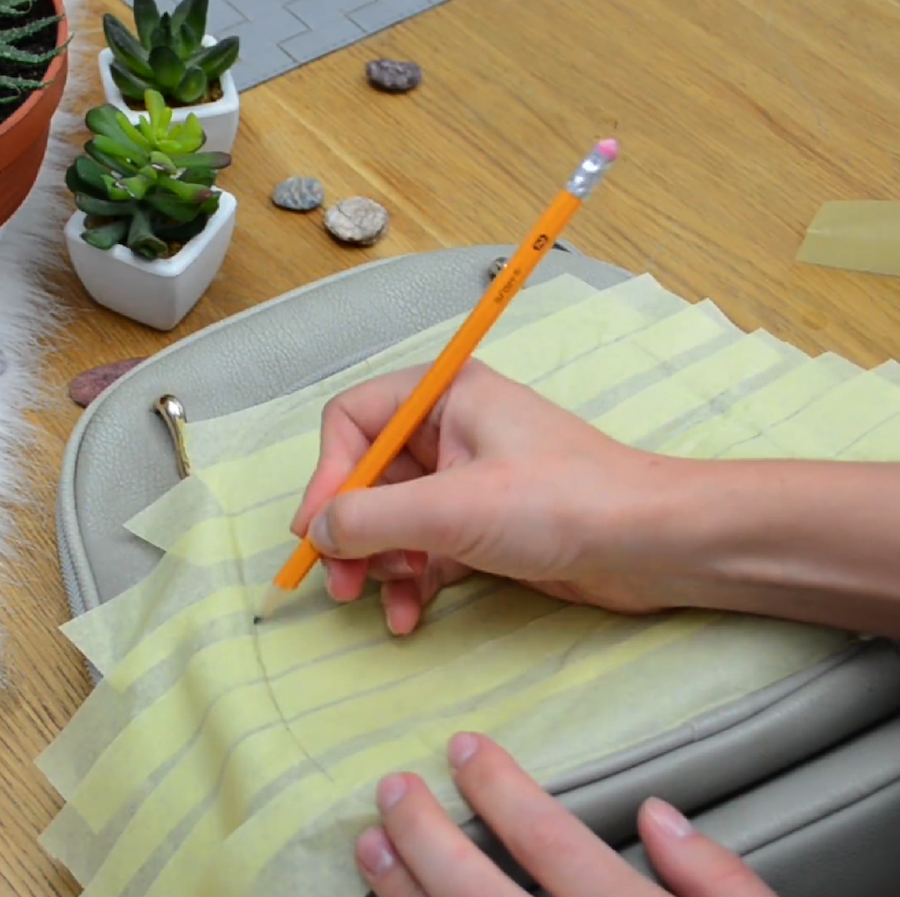
Trace over the area’s edges with a pencil - Trim to tape along the pencil-drawn edges.
- Place the pieces of tape over the velvet fabric, use it as a guideline to cut the fabric.
- Light a candle, run the edges of each fabric piece along the fire to prevent fraying.
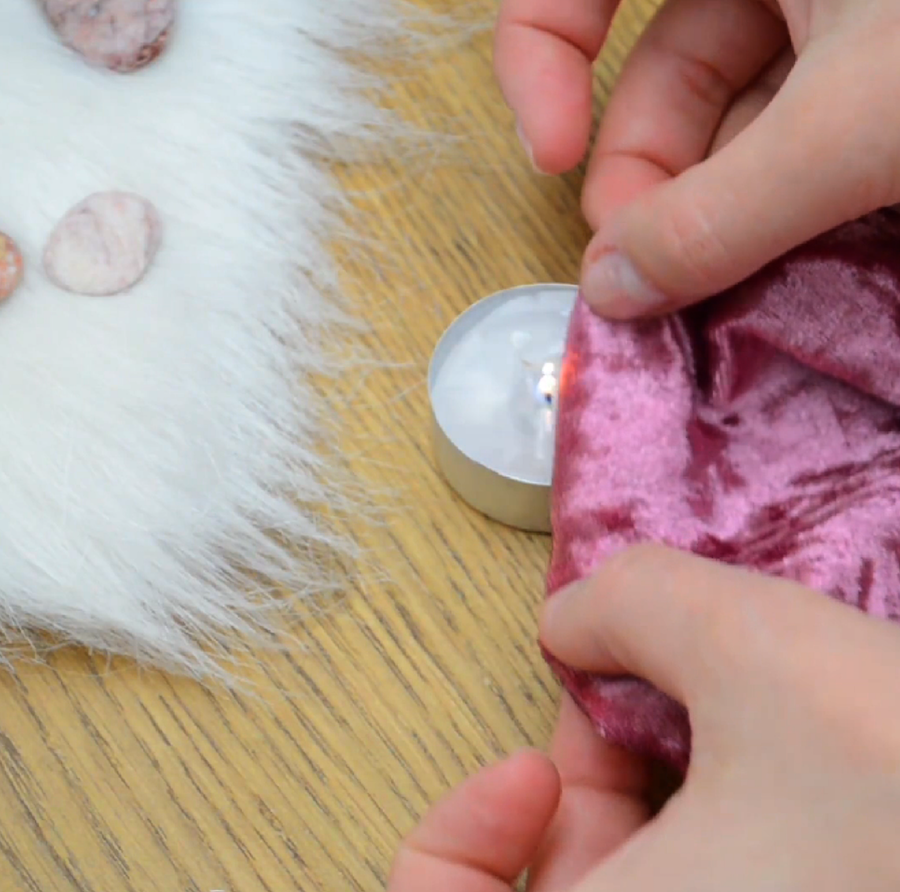
Run the edges of each fabric piece along the fire to prevent fraying - Place double-sided tape over the surfaces you are attaching the velvet fabric, gently smooth out any wrinkles and run a hot glue gun around the edges of the fabric.
- Push down the fabric edges with a wooden stick to securely seal off the edges.
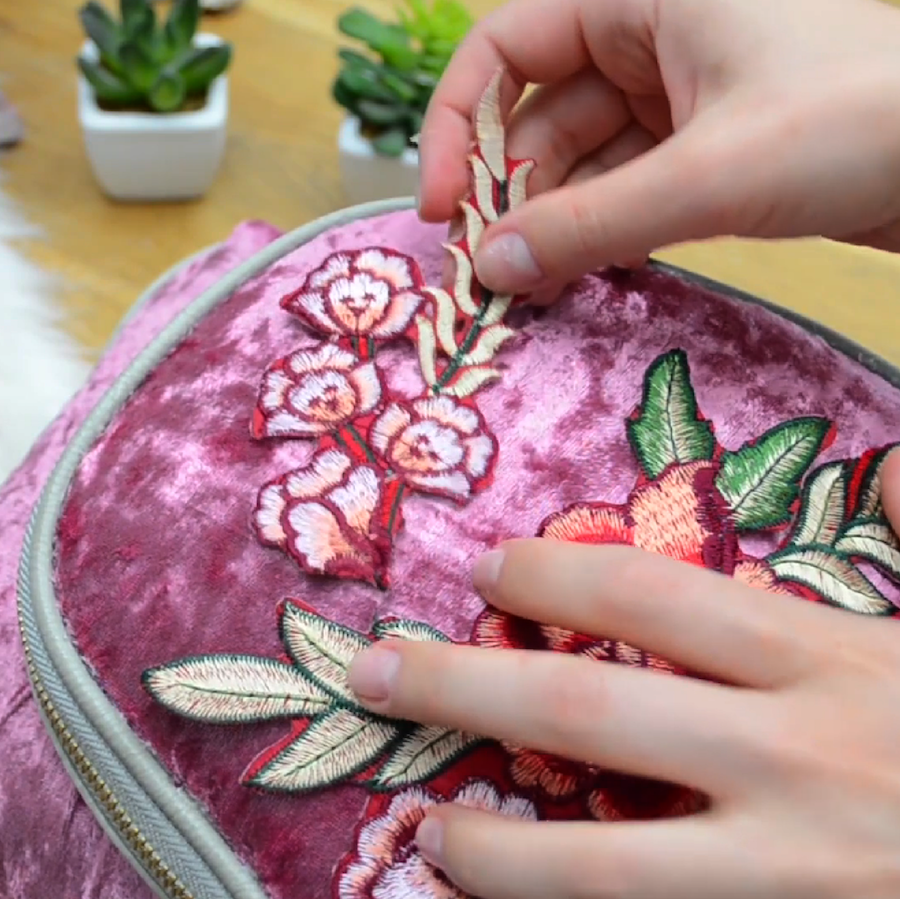
- Now it’s decorating time! You can attach a flower embroidery patch (or any patch of your choice) on your backpack using the hot glue gun. Fasten a tassel on the bag’s zipper for a finished look.
Now you have your own personalized back-to-school fashion backpack at a fraction of the cost of designer bags. Sport your work of art proudly around campus and get ready for receiving a load of compliments from your classmates.
Video Tutorial
Follow our video tutorial above and check out our end results!
Tried making it at home? Share your results with us on Facebook, or Instagram.
Thanks to Oksana Matyash for sharing her video with us, check out more on her channel.

")


