
Can you stop yourself from buying that gorgeous lipstick despite having a similar shade at home? Nope, neither can I. If you’re like me and hoard makeup like there’s no tomorrow, then you NEED these DIY organization hacks. It’s actually very easy to create makeup and jewelry organizers that’ll help you easily navigate all your items and never lose anything again!
Sushi Mat Makeup Organization
Materials
1 Bamboo Sushi Mat
1 Elastic Band
Hot Glue Gun
Instructions
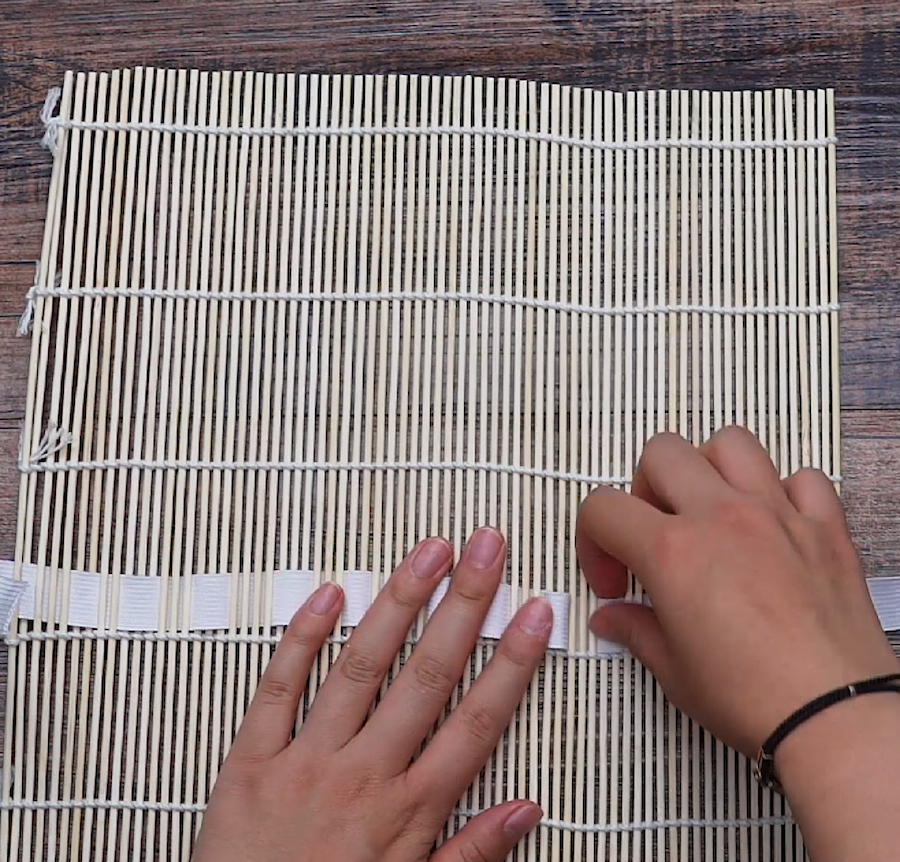
- Cut off a piece of elastic twice the width of the sushi mat.
- Start threading the elastic band through the bamboo slits. You can do every third slit but a tip is to use your makeup brushes as a guide for width.
- Repeat this process and weave the band across the mat.
- Leave an extra 2 inches of elastic on both sides of the mat and trim off the excess.
Glue one side of the elastic band over itself to form a loop. - Place your makeup brushes into the weaved elastic holders, roll up the mat and insert one side of the band into the elastic loop to secure the holder.
Reuse Product Boxes as Makeup Organization
Materials
Empty Product Boxes
Hot Glue Gun
Instructions
- Unfold your makeup/skincare product boxes and flatten them. Cut each box in half, or to whatever height you need.
- Fold the boxes back together and arrange them for your needs!
- Attach the sides of the boxes together using the hot glue gun. You can now organize your makeup items and brushes in the boxes.
Makeup Travel Case
Materials
1 Shoe Box
Hot Glue Gun
1 Roll of Thick Ribbon
Wrapping Paper
Velcro
Cardboard
Instructions
- Cut off a piece of wrapping paper twice the size of the shoe box.
- Wrap the paper around the outside of the box and glue together using a hot glue gun.
- Wrap the thick ribbon around the box, place one on the left side and one on the right side, secure it with a hot glue gun. Leave an extra 2 inches of ribbon dangling from the top of the shoe box at the opening. Glue another piece of ribbon in between, this will be your makeup box handle.
- Cut off 4 pieces of velcro of equal sizes, glue onto the ribbons at the box opening so that you can securely close the box. You can also glue an ornament on top of the velcro enclosing area so they act as buttons.
- Now you’re done with the box, let’s create some compartments within it. Measure pieces of cardboard according to the size of your shoe box, trim and wrap with the same wrapping paper. Glue them together.
- Glue the pieces of cardboard inside the shoe box and now you can start putting your makeup inside!
- For makeup brush storage, cut off a piece of elastic the same width as the box. Attach it underneath the lid, glue one end down first then use makeup brushes as size guides to glue the elastic onto the lid.
Jewelry Organization Box
Materials
1 Plastic Container
4 Toilet Rolls
3 Toothpicks
Hot Glue Gun
Fabric
Instructions
- Place the container vertically on a flat surface. Use a hot glue gun to attach the toilet rolls horizontally inside the container.
- Cut off a piece of fabric 3 inches wider than the container and 12 inches longer, place it on top of the container and tuck in the sides of the fabric.
- Place toothpicks in between the toilet rolls and push down to tuck the fabric in.
- Your personalized jewelry holder is done! Organize your earrings, bracelets, and rings by putting them in between the creases.
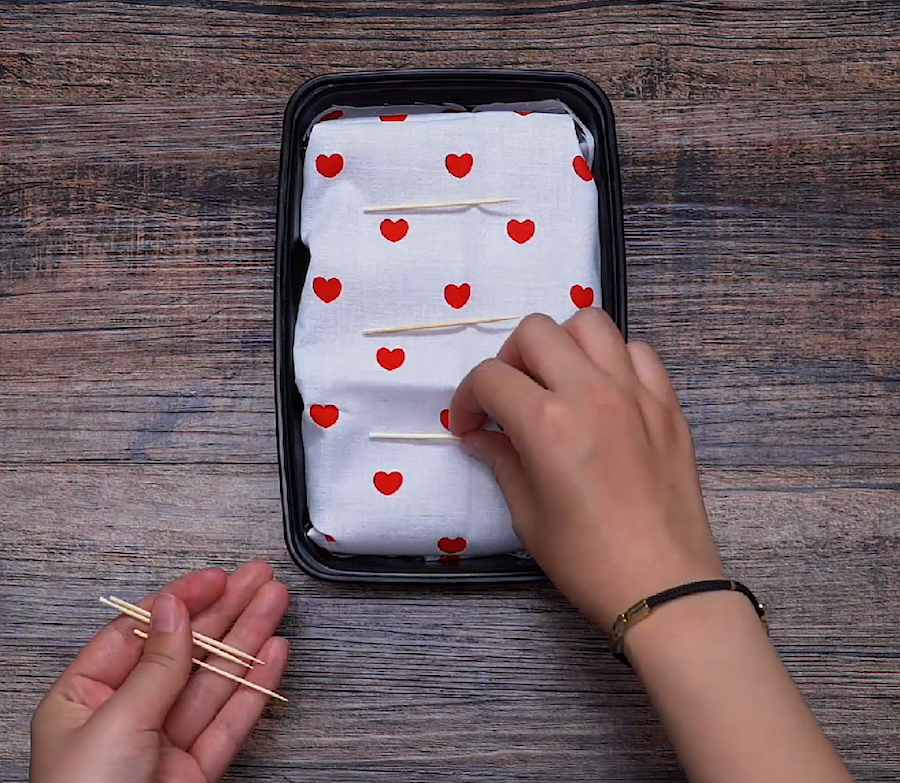
Photo Frame Earring Organization
Materials
1 Picture Frame Stand
1 Staple Gun
Fabric
Ribbon
Instructions
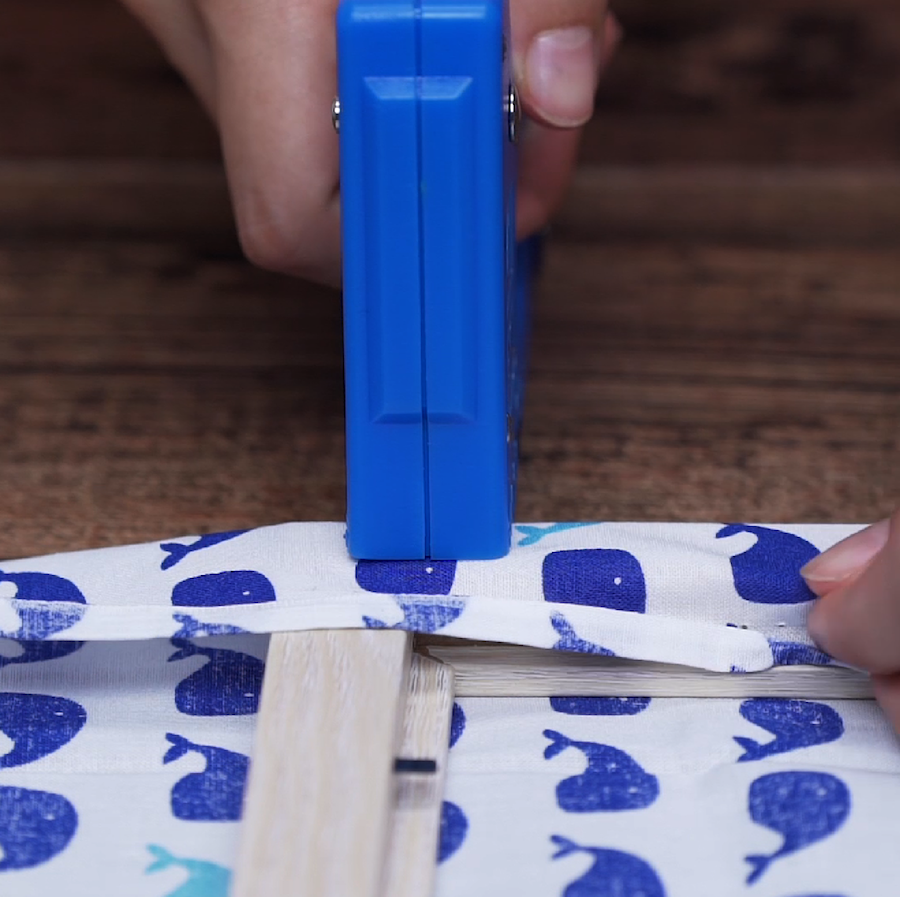
- Cut off a piece of fabric 3 inches larger than the wooden frame, cover the front of the frame and wrap the fabric around the back. Use the staple gun to staple the fabric to wooden frame.
- Cut out 7 strips of ribbons 3 times the width of the frame. Wrap it around the frame, leaving a 1-inch distance between each ribbon.
- Staple each ribbon onto the backside of the frame. Tie the ribbons’ extra lengths together, close off the frame with the backing board.
- You can now hang your beautiful collection of earrings on the ribbons.
What’s better than owning a large collection of cosmetics and jewelry? A personalized storage solution! Now you know how to properly organize your prized items in personalized, stylish storages so you can effortlessly grab anything right away.
Video Tutorial
Follow our video tutorial above and check out our end results!
Tried making it at home? Share your results with us on Facebook, or Instagram.

")


