
Tired of your plain, old shirts? Want to give your closet a makeover? Here’s how to tie dye your clothes to transform any old apparel into a fashionable item on a budget! This 90s fashion style is extremely versatile and easy to DIY. You can choose a wide range of tie-dye patterns which can be applied to various fashion pieces, from t-shirts, dresses, hats to handbags – you name it!
“WHY BUY A $890 SAINT LAURENT TIE-DYE HOODIE WHEN YOU CAN MAKE YOUR OWN FOR LESS THAN $10”
Ingredients:
- One-Step Tie Dye Kit
- White Cotton T-shirts
- White Cotton Bag
- White Cotton Cap
- White Cotton Dress
- 2-4 Large Glass Bowls
- 3 Pairs Of Chopsticks (Or 1 Wire Rack)
- Plastic Gloves
- Rubber Bands
- Plastic Wrap
Tie-Dye T-shirt
- Dip the white cotton T-shirt in water and squeeze dry.
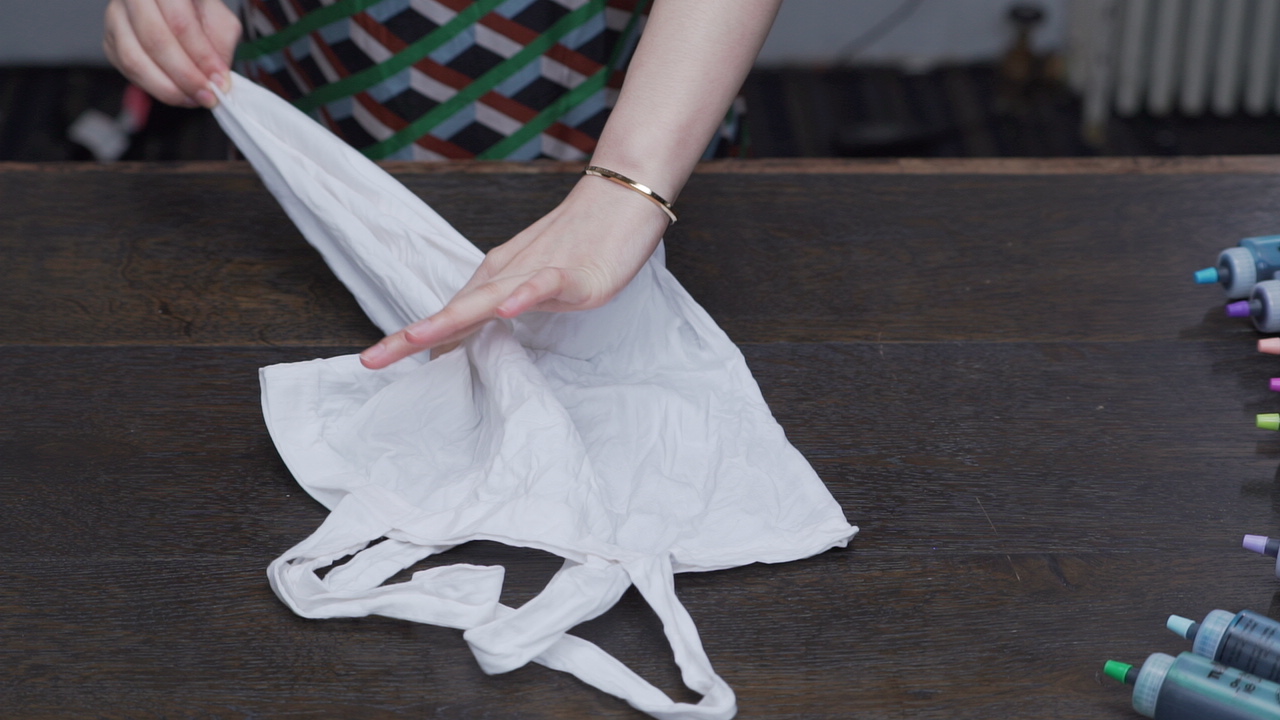
- Lay the damp T-shirt flat.
- Pinch the middle of the shirt and start swirling it into a circle.
- Tie up the shirt with 4 rubber bands, dividing it into 8 equal sections.
- Now it’s time to mix your dyes! Choose your desired colors and add water. Shake the bottle until the dye is mixed.
- If you have a wire rack, use it, if not, place a couple pairs of chopsticks on top of a large glass bowl.
- Place the shirt on top.
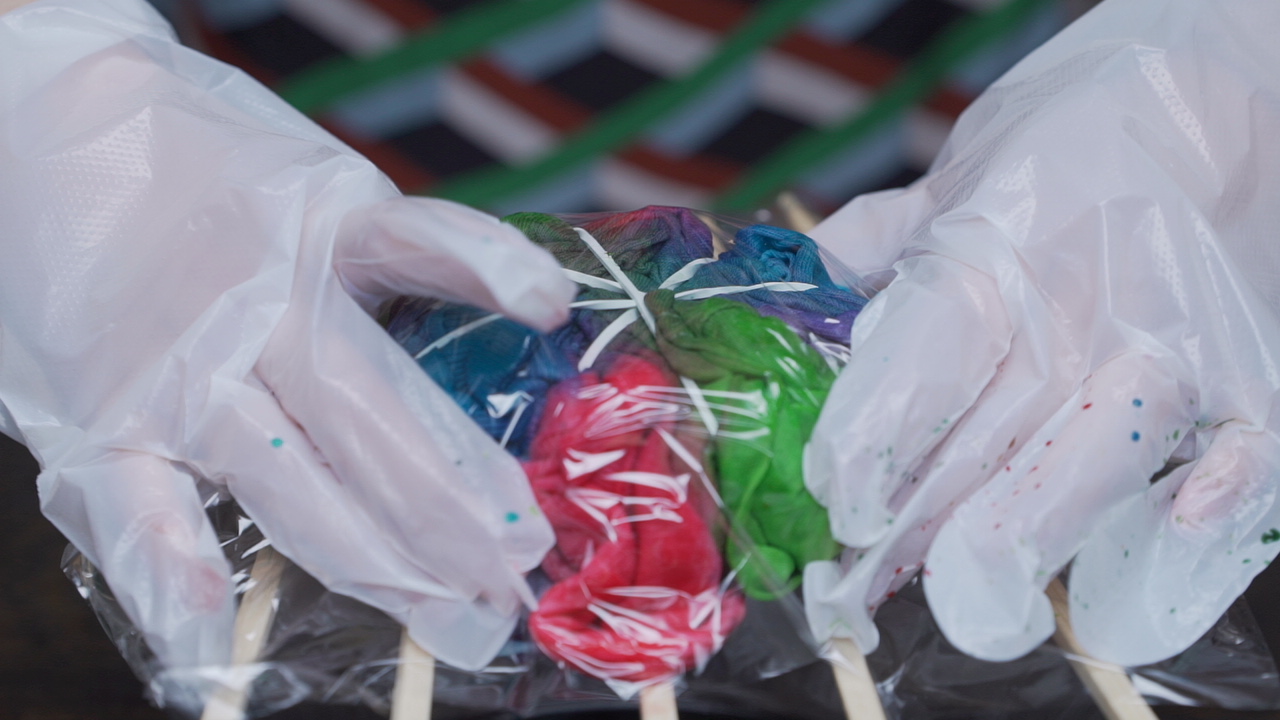
- Are you ready? Squeeze the fabric dye onto different sections of your shirt to your liking. If you want a color-swirl result, use one color for each section.
- Flip & rotate your shirt to make sure you cover all sections.
- Cover the shirt with plastic wrap and let it sit for 8 hours.
- Wash the shirt in cold water, wring it dry.
- Now snip off the rubber bands and reveal your beautiful design!
- Allow the shirt to fully dry, then you can put it on to show off your impressive work. 😉
DIY Tie-Dye Tote Bag
- Wet your tote bag thoroughly and wring out the excess water.
- Lay out the damp bag and smooth out wrinkles.
- Take the bag by its bottom right-hand corner, clasp the bag and pull it through your closed fist to form an arrow shape.
- Apply rubber bands onto the bag, distance the bands about 10cm from each other.
- Place the bag on top of the rack over a large empty glass bowl.
- Choose your desired color dyes and add water, shake the bottle until the dye is mixed well.
- Squeeze a different colored dye onto each section.
- Cover the bag with a plastic wrap and let it sit for 8 hours.
- Wash the bag in cold water and wring it dry.
- Snip off the rubber bands. Let the finished product dry and it’s ready to use!
DIY Tie-Dye Baseball Cap
- Wet your baseball cap and wring it dry.
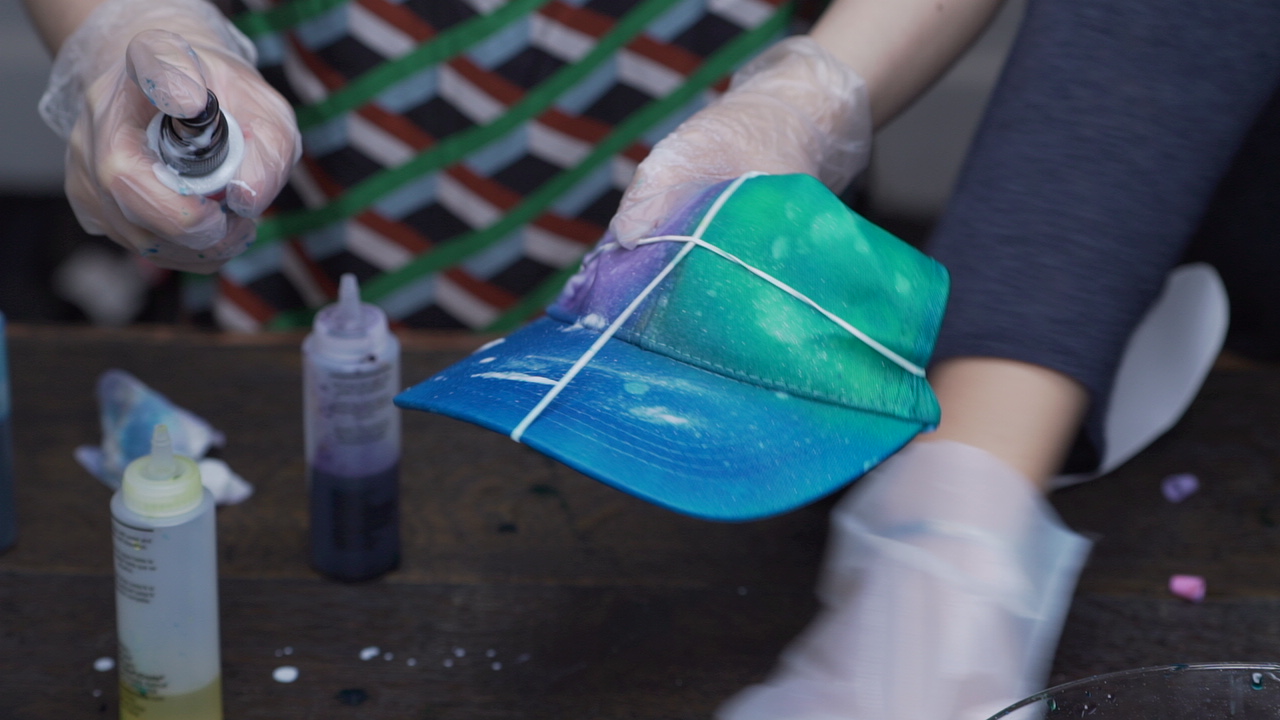
- Fold over the back of the cap, place 1 rubber band horizontally over the cap and another rubber band vertically to divide the cap into 4 sections.
- Place the cap on the rack over the empty glass bowl.
- Choose 3-4 different color dyes, add water and shake the bottle until the dye is well mixed.
- Pour a different colored fabric dye over each section of the cap evenly.
- Cover the cap with plastic wrap and let it sit for 8 hours.
- Wash the cap in cold water to rinse off any excess dye.
- Snip off the rubber bands, allow the cap to fully dry.
- There you have it, your own colorful, uniquely designed baseball cap 😀
DIY Tie-Dye Dress
- Wet the dress thoroughly with water, wring it dry.
- Lay out the dress and smooth out any wrinkles.
- Starting from the bottom of the dress, pinch a small section of the fabric and tie it up to make a rosette shape.
- Repeat the above process until you’ve made rosettes covering the entire area of the bottom of the dress.
- Pinch the upper middle part of the dress and tie it up to create a large rosette.
- Fill a large glass bowl with cold water.
- Choose your desired fabric dye color, add 5 grams of fabric dye into the water and mix until it’s well dissolved.
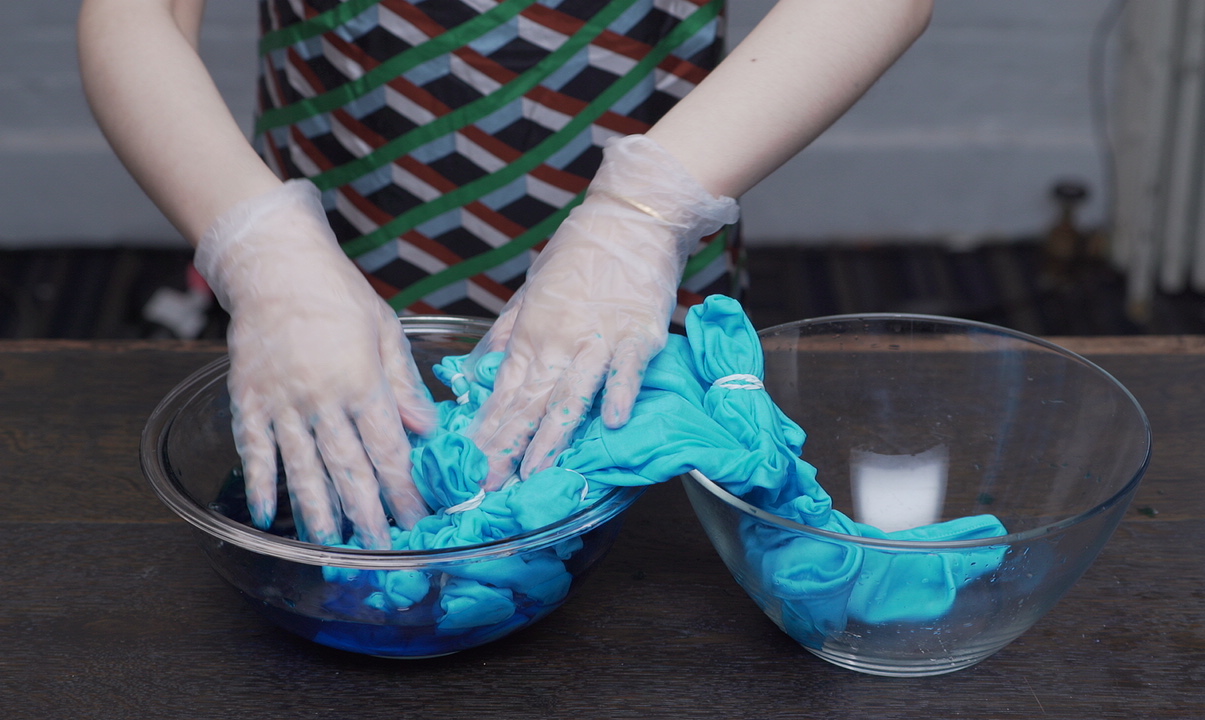
- Place the entire dress in the dye for 20 minutes.
- Remove the dress into an empty glass bowl.
- Add an additional 5 grams of fabric dye into the dye liquid.
- Prepare a large glass bowl and fill with clear water.
- Now place the bottom part of the dress into the dye liquid from step 10, and place the top part of the dress into the bowl of clear water. (This is to create an ombré color effect)
- Let the dress sit for 8 hours, wash off excess dye in cold water.
- Remove all rubber bands from the dress, hang the dress to dry.
- Now your gorgeous, rosette patterned dress is ready to be worn!
Video Tutorial
Follow our video tutorial above and check out our end results!
Tried making it at home? Share your results with us on Facebook, or Instagram.

")


