
Sewing may sound like an obsolete thing in the past, but learning how to sew actually gives you a lot of advantages and benefits, you’ll be able to makeover clothing without extra cost, create beautiful embroidery art, and even various crafts, artwork and home decor. Fear that sewing is hard? Worry not, these 5 basic sewing techniques will ensure any beginners to easily pick up and master the technique effortlessly.
How to Back Stitch
Materials
1 Embroidery Hoop
A Piece of Fabric
A Pencil
A Needle
Thread
Instructions
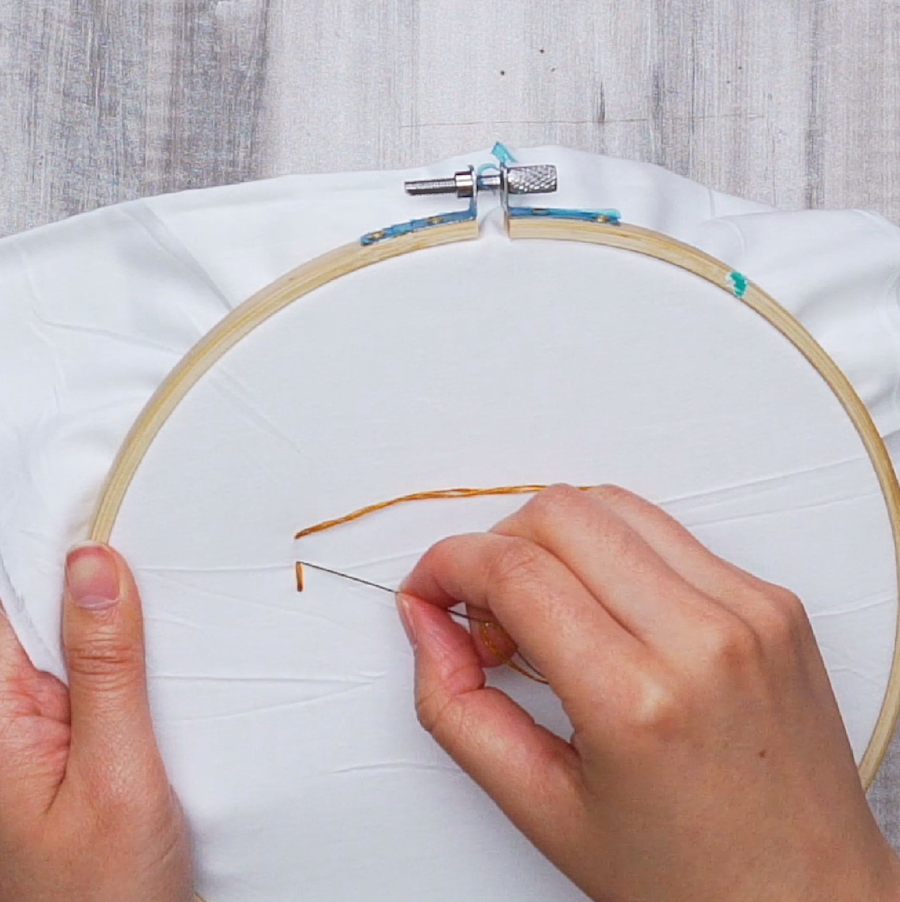
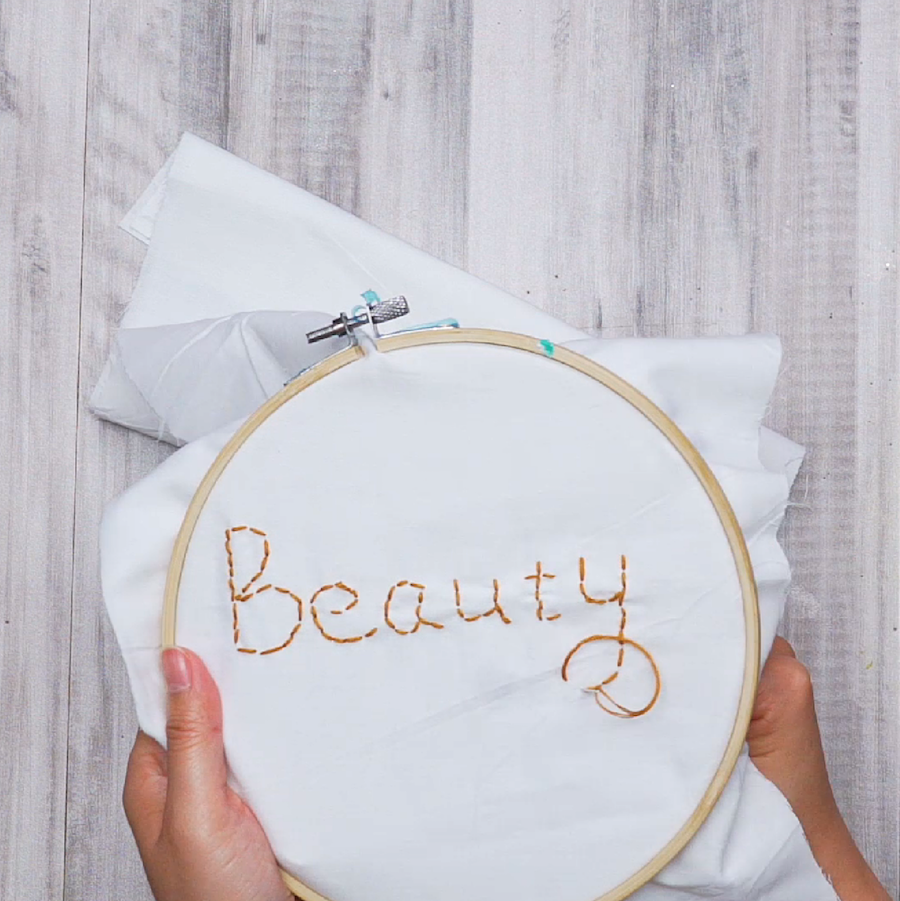
- Use a pencil to gently trace on fabric the letters or picture you wish to embroider. (we chose the word “beauty”) place the fabric between the two hoops with the text at the center and secure the embroidery hoop.
- Thread the needle and make a knot at the end of the thread.
- Starting at the letter B, send the needle up from the backside of the fabric, make a straight stitch and pass the needle back down into the fabric.
- Send the needle back up from the backside of the fabric at an equidistant area from the first stitch, bring your needle towards the left side and tag it up with the end of the first stitch and insert the needle back down into the fabric.
- Repeat steps 3-4 until you finished embroidering all the letters, tie a knot at the end of the thread to secure the stitching, cut off excess thread.
Easy Blanket Stitch
Materials
Thread
A Needle
A Piece of Fabric
Instructions
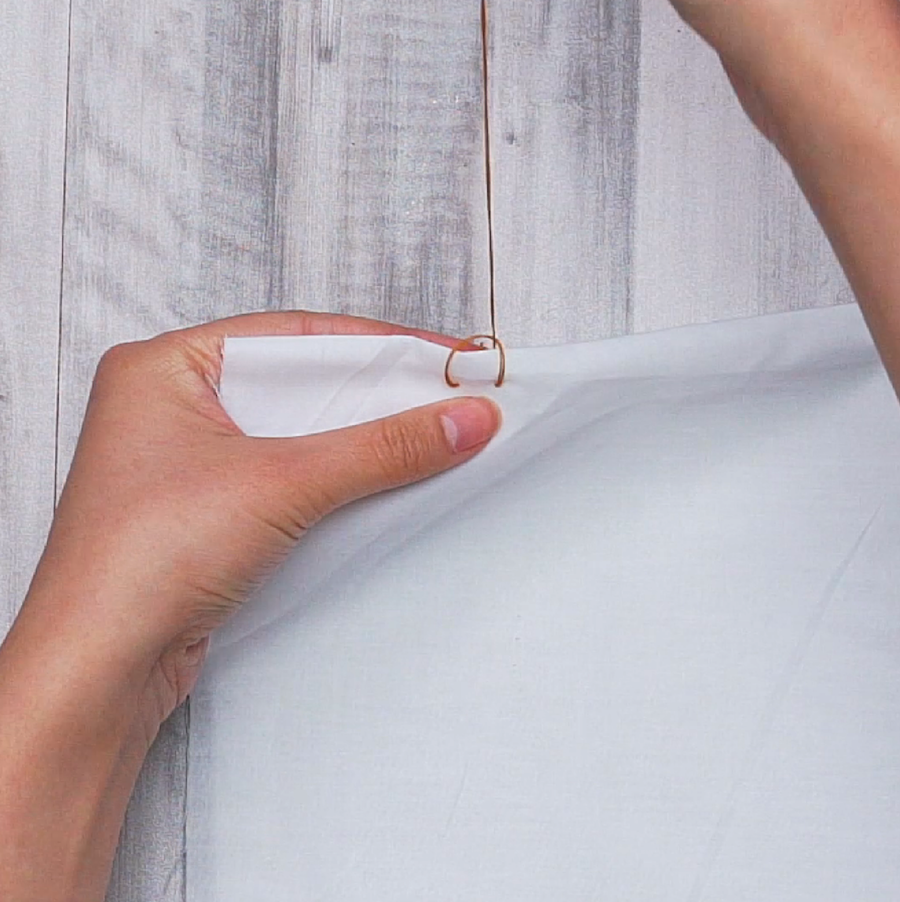
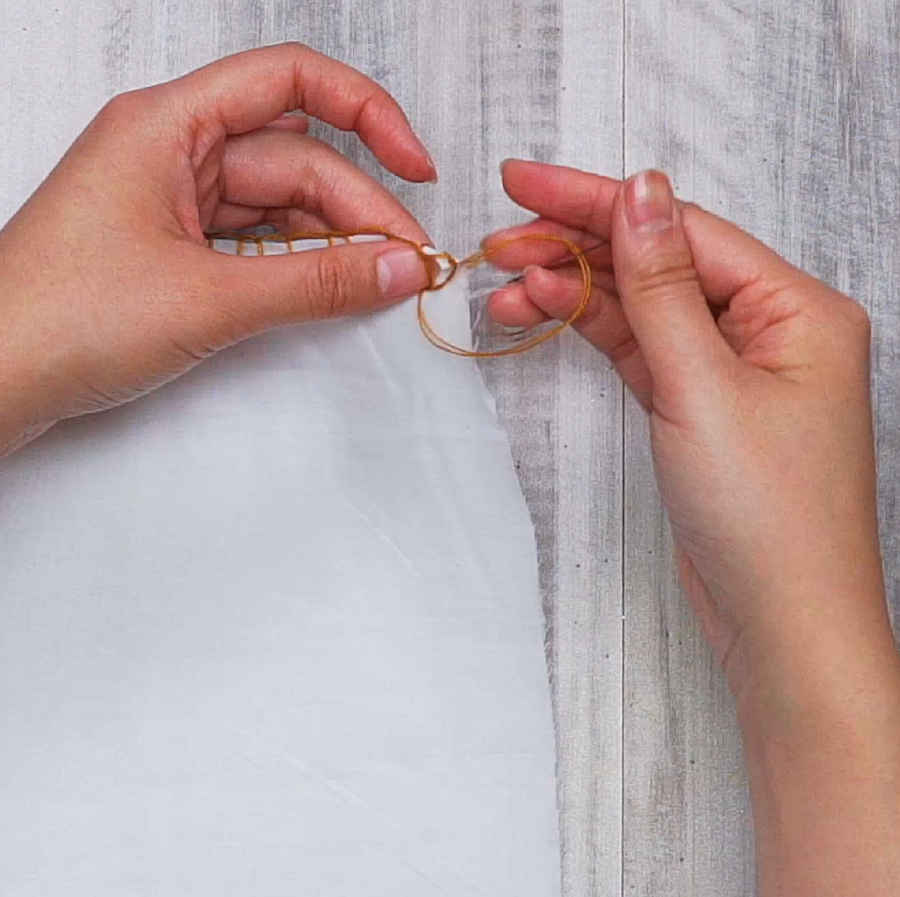
- Fold the fabric over in half, thread the needle and make a knot at the end of the thread.
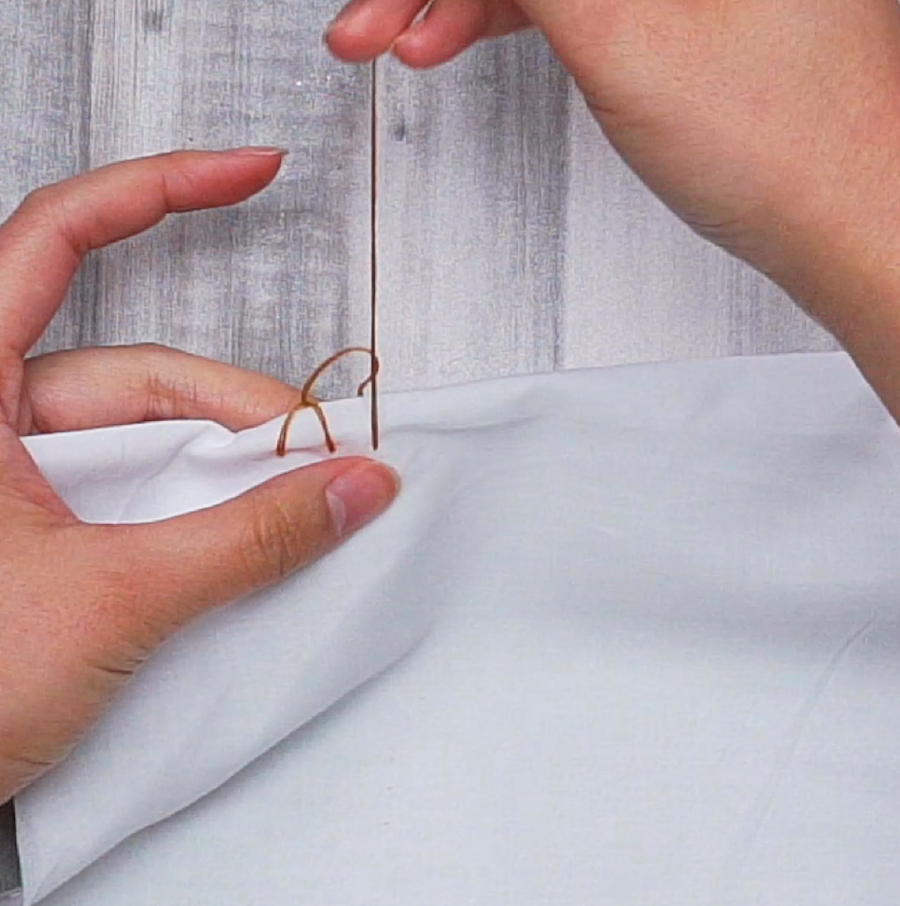
- Starting at the sides of the fabric, pass the needle from the backside then bring it towards the right side and pass the needle back down at a 1 cm distance, as the thread forms a loop, insert the needle through the loop and pull the thread to tighten, the first blanket stitch is formed.
- Pass the needle from the back side and bring it towards the front again at a 1 cm distance, the thread will form another loop on top, insert the needle through the loop and pull to tighten.
- When you’ve reached the corners of the fabric, pull the thread through the same hole three times.
- Continue with steps 2-4 until you finished sewing up all four sides of the fabric, tie a knot at the end of the thread to secure the stitching and cut off excess thread.

Running Stitch to make a Pillowcase
Materials
1 Pillow
A Needle
Thread
Fabric
Instructions
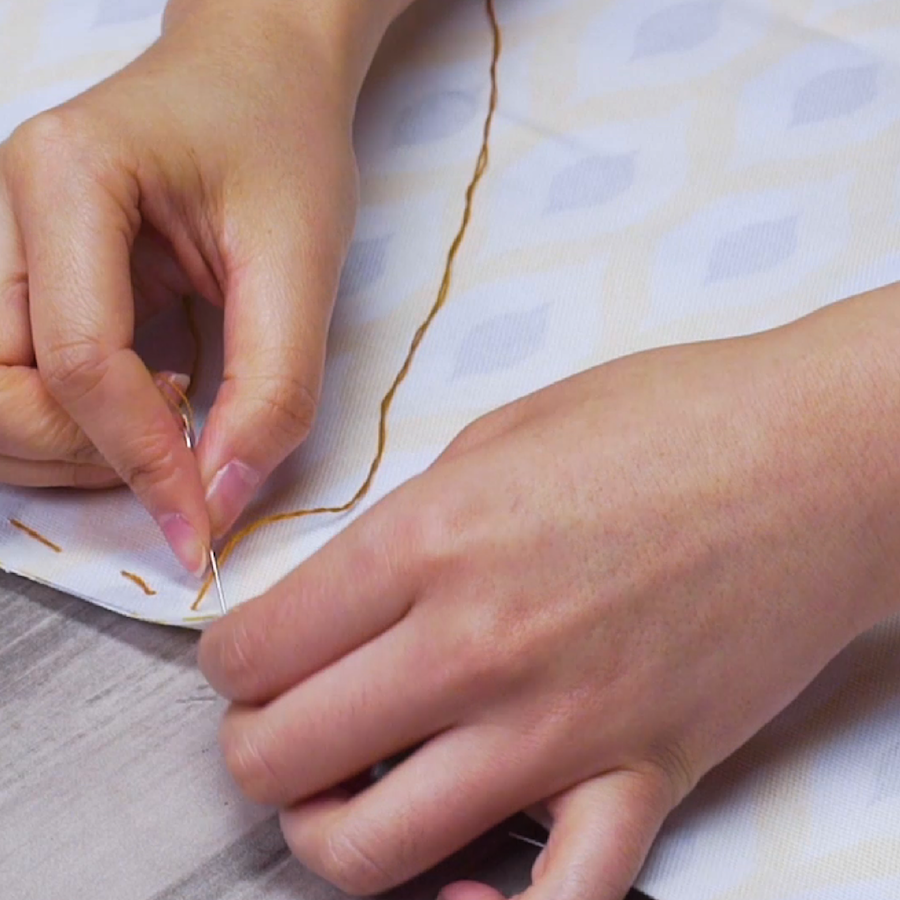
- Flip the fabric to its backside and fold it over in half. Thread the needle and make a knot at the end of the thread.
- Pass the needle through both layers of the fabric, make a 1 cm long straight stitch and bring the needle down, bring the needle back up at a 1 cm distance from the first stitch and make another straight stitch, bring the needle back up at a 1 cm distance from the second stitch.
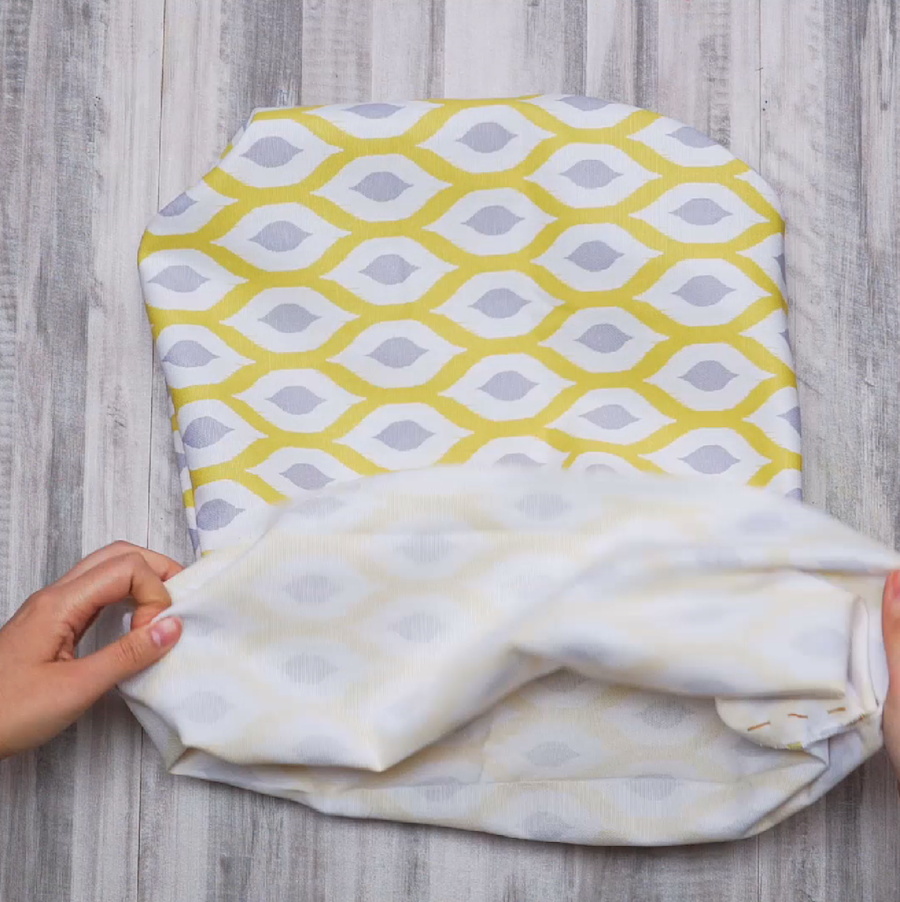
- Continue with step 2 to sew up the two sides of the fabric, tie a knot at the end of the thread to secure the stitching and cut off excess thread.
- Flip the fabric inside out, stuff the pillow inside the case through the opening side.
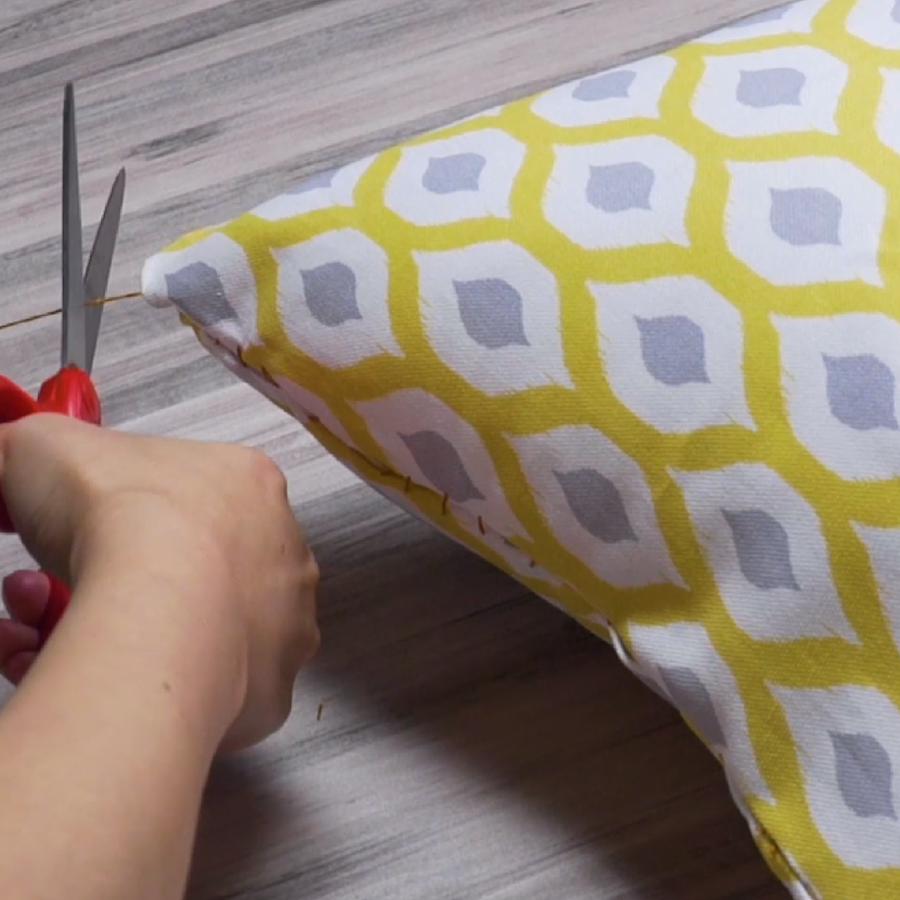
Ladder Stitch to Seal the Pillowcase
Materials
Instructions
- Following the previous running stitch to make the pillowcase, this ladder stitch will seal the pillowcase.
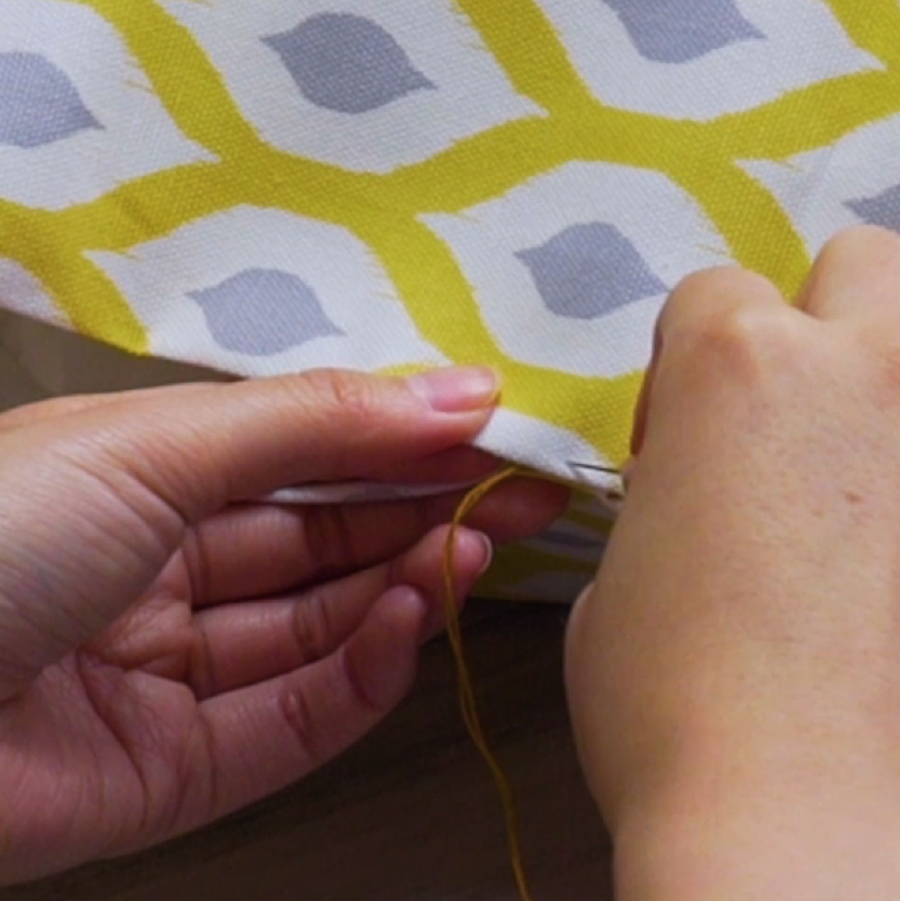
- At the opening side of the pillowcase, fold over the edge of the two pieces of fabric 1 inches towards the inside.
- Thread the needle and make a knot at the end of the thread.
- Starting at the top sheet of fabric, pass the needle through the inner fold of the hem.
- Bring the needle to the corresponding spot on the other sheet of fabric and insert it through the fold of the hem, move the needle 1 cm forward and bring it back up through the fold of the hem.
- Repeat steps 4-5 until you’ve finish sewing up the opening side. When you reached the end, pull the thread to tighten the stitches so it becomes invisible, secure a knot and cut off excess thread.
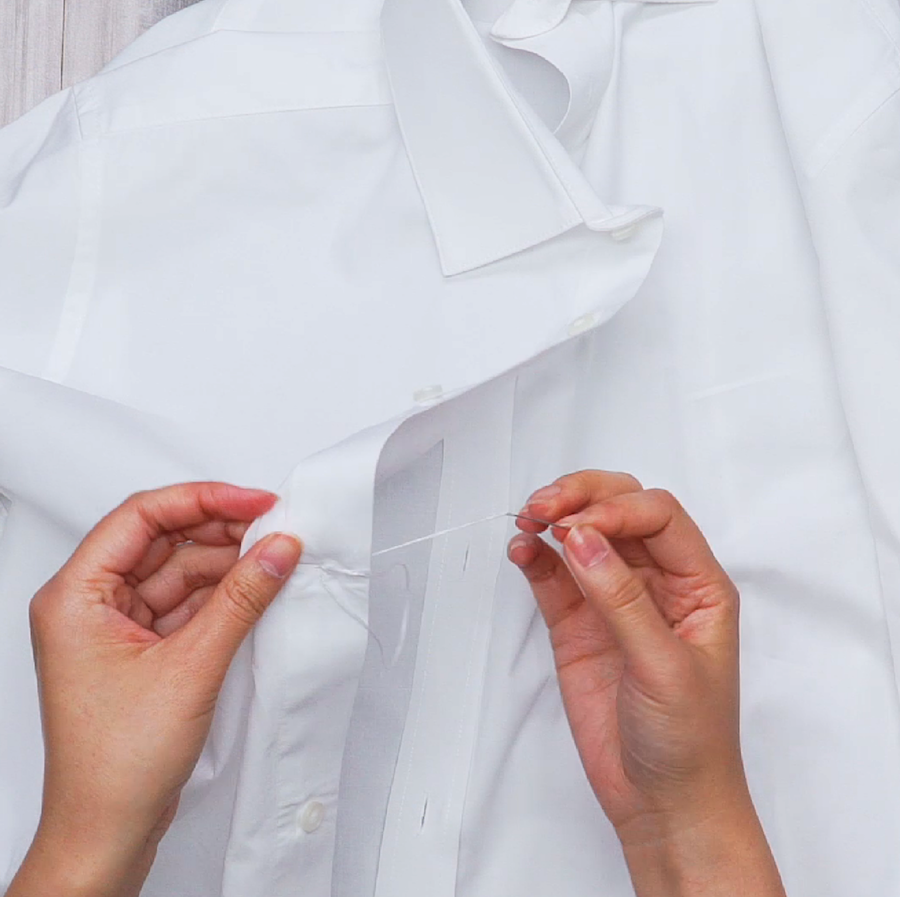
How to Sew a Button
Materials
Instructions
- Locate the area where you want to sew on the button, thread the needle and make a knot at the end of the thread.
- Pass the needle through the backside of the fabric, make 2 straight stitches to create an “X” shape.
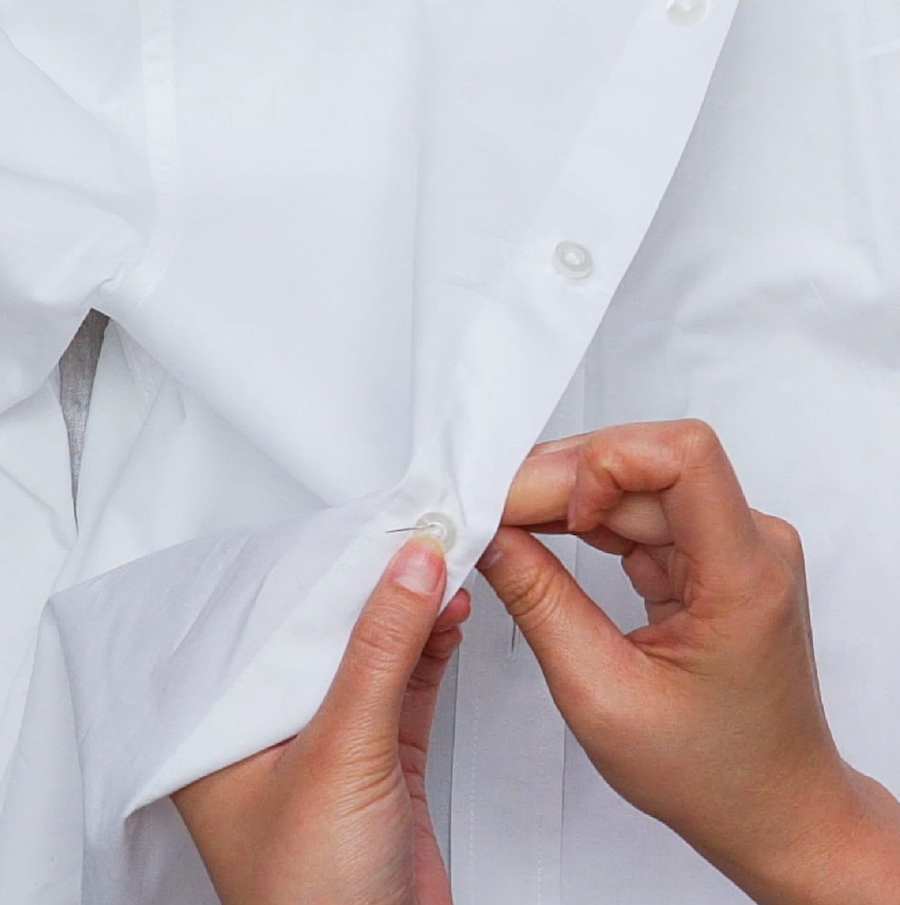
- Place the button on top of the “X,” insert the needle through a hole in the button and pass the needle to the backside, bring up the needle to the front through another buttonhole. Continue this step to pass the needle through all the buttonholes.
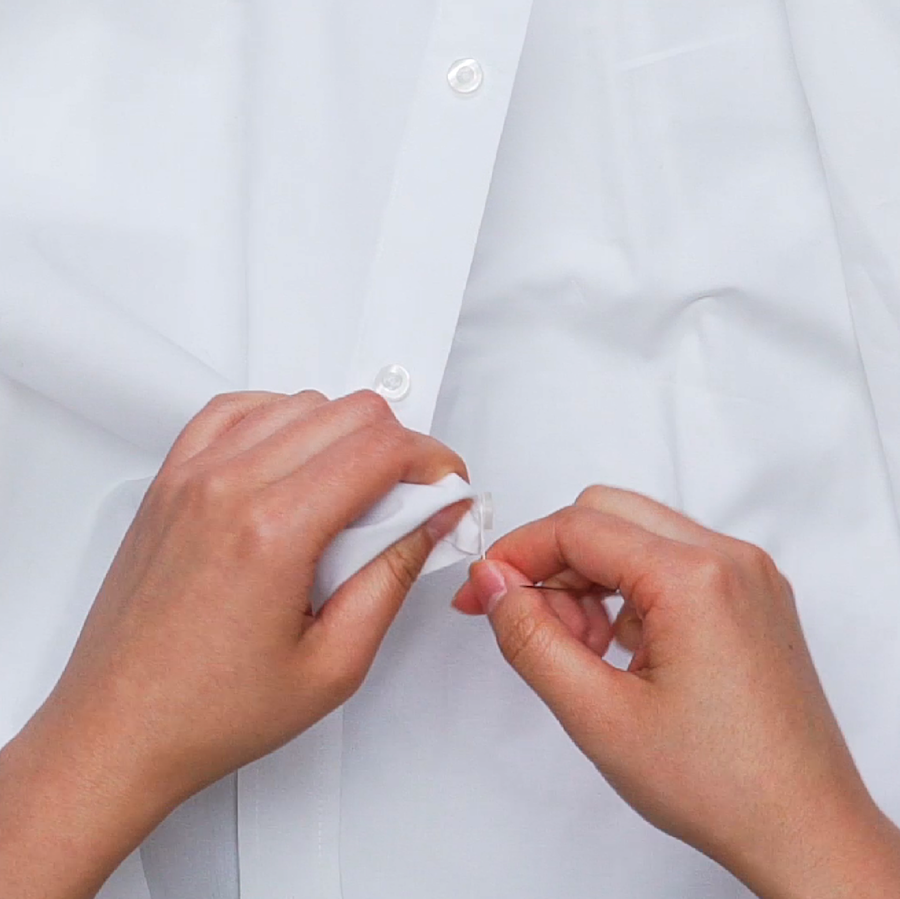
- When you are done sewing through all the buttonholes, bring the needle to the backside, wrap the thread around the button 5 times, secure the thread with a knot and cut off excess fabric.
Video Tutorial
Follow our video tutorial above and check out our end results!
Tried making it at home? Share your results with us on Facebook, or Instagram.


