
If you are considering making your own jewelry with some personalized touches and design, these 4 DIY jewelry ideas using the traditional Japanese artform “mizuhiki” knots are great for anyone to get started. Mizuhiki knots are easy to learn and creates unique, beautiful styles that can be applied to almost any type of accessories.
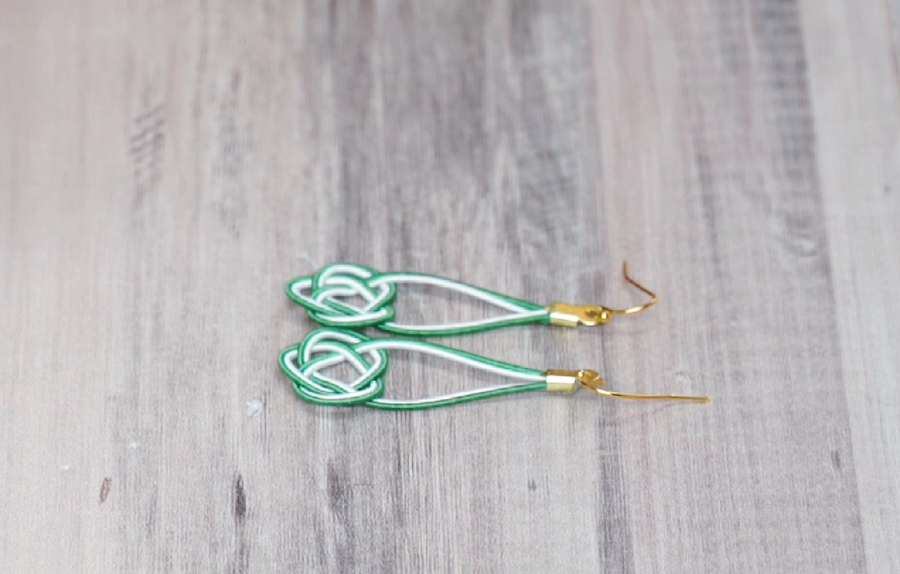
Mizuhiki Droplet Earrings
Materials
1 Hot Glue Gun
1 Round Nose Pliers
2 Cord End Caps
2 Earring Hooks
Mizuhiki Cords
Instructions
-
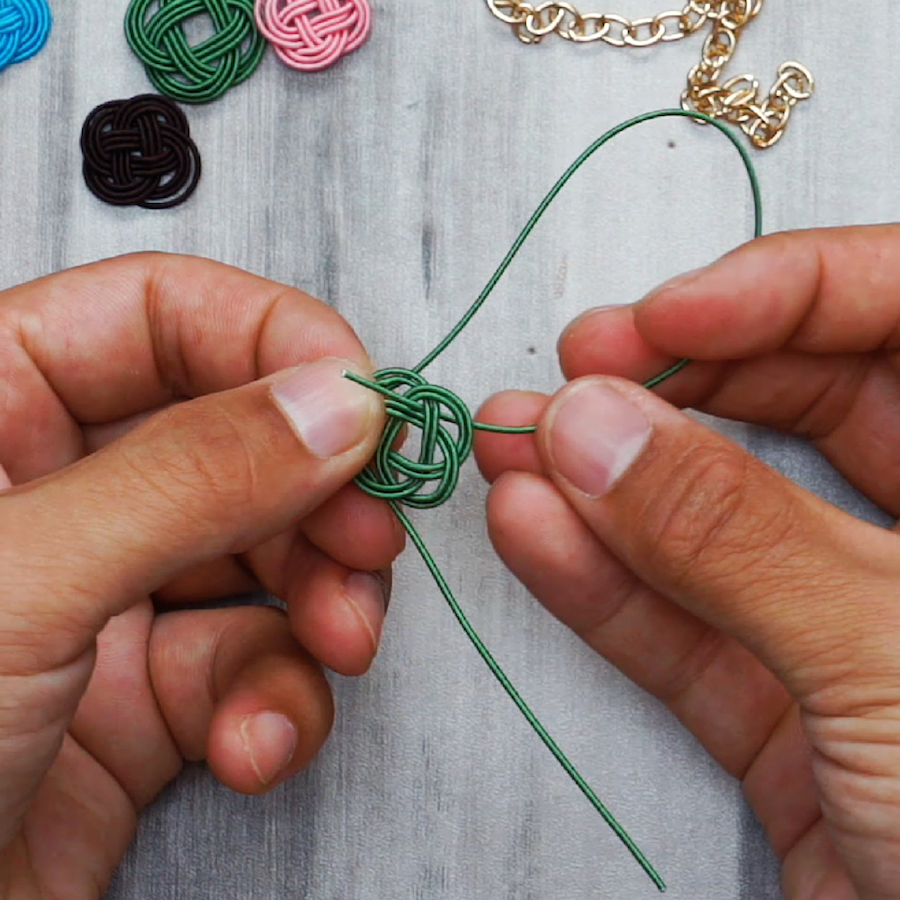
- Take 2 mizuhiki cords and make a loop, bend one end down and over the middle to create a pretzel shape consisting of left, middle and right sections.
- Bend the other end down and insert it through the right section loop, run it over the middle section then underneath through the left section.
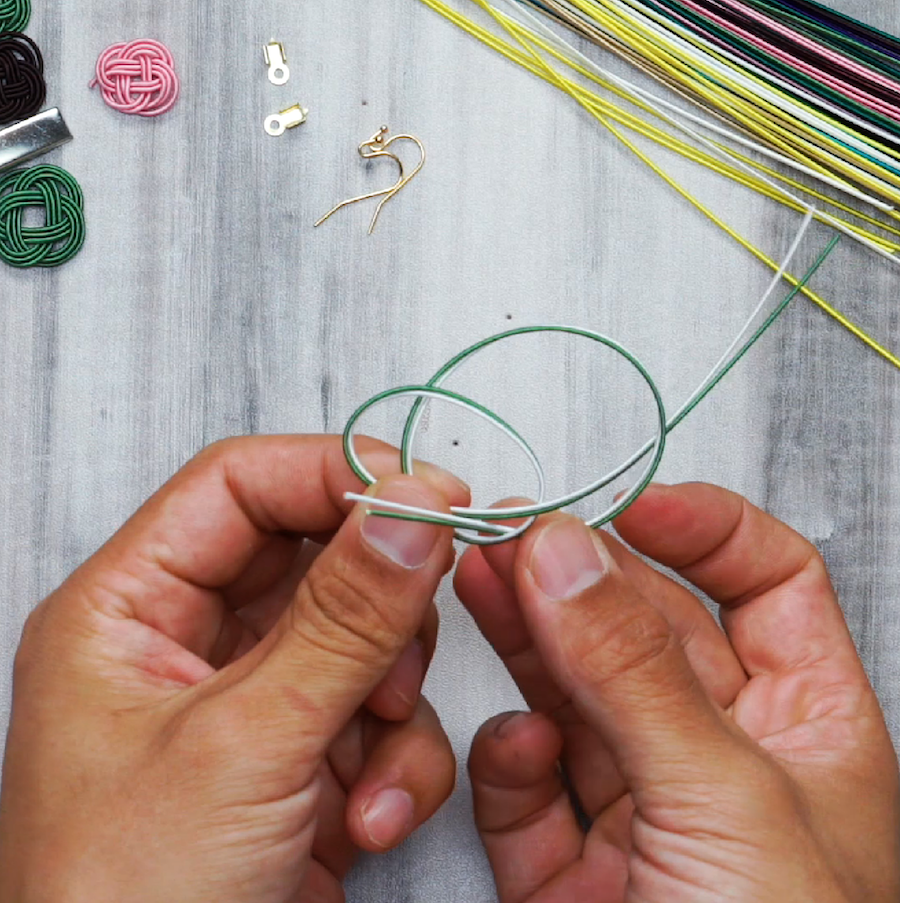
Bend the other end down and insert it through the right section loop - Pull the loops to even out the knots and tighten it, leave 2 inches on both ends and cut off the remaining cord, seal the two ends together with a hot glue gun to create a droplet shape.
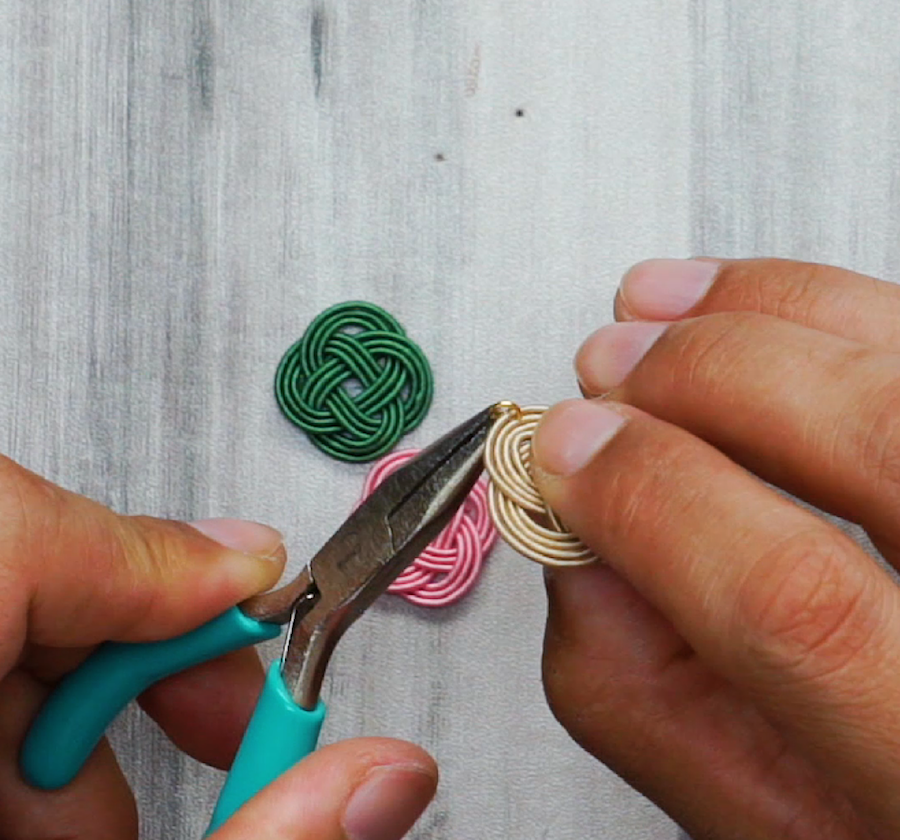
- Secure the sealed ends with a cord end cap and tighten it using a round nose plier.
- Use the round nose plier to open the loop of the earring hook, insert the cord end cap hole through the hook and secure it using round nose pliers. (Repeat steps 1-5 to make a pair of earrings)
Mizuhiki Flower Earrings
Materials
1 Round Nose Pliers
1 Hot Glue Gun
2 Jewelry Metal Chain
2 Earring Hooks
4 Open Jump Rings
Mizuhiki Cords
Metal Wires
Instructions
-
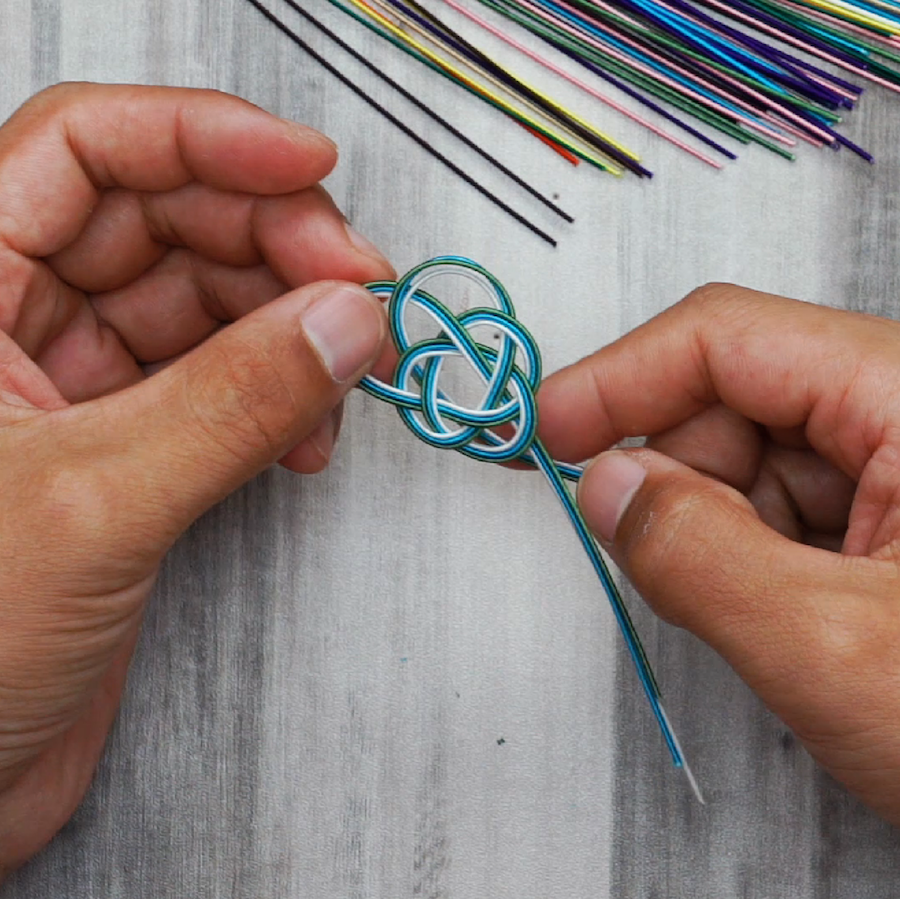
- Arrange 3 mizuhiki cords together and make a loop, bend the left end down and over the middle to create a pretzel shape consisting of left, middle and right sections.
- Bend the right end down and insert it underneath through the left section and over the middle section then underneath through the right section loop.
- Pull the ends of each cord to even it out and tighten the mizuhiki knot to around 2 inches in size.
- Take the left end and insert it underneath through the middle section, take the right end and insert it through the outer section loop to create a mizuhiki flower.
- Bound the two ends with a metal wire and cut off the remaining cord, secure the ends with a hot glue gun.
- Take two open jump rings and use the round nose pliers to open the ends, fasten one open jump ring on each end of the metal chain and clip both open jump rings on the outermost cord of the mizuhiku flower.
- Open the end loop of an earring hook with the round nose plier and fasten it onto the middle section of the chain. (Repeat steps 1-7 to make a pair of earrings)
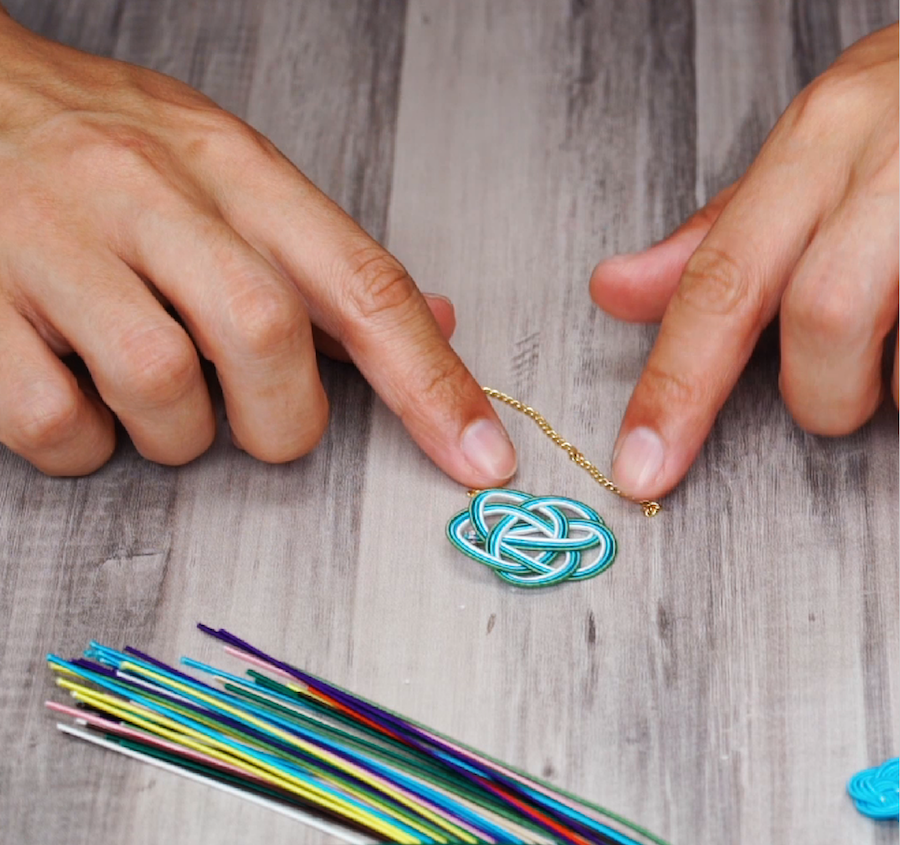
Clip both open jump rings on the outermost cord of the mizuhiku flower
Mizuhiki Flower Charm Bracelet
Materials
1 Hot Glue Gun
1 Round Nose Pliers
1 Bracelet Chain
Open Jump Rings
Mizuhiki Cords
Instructions
-
-
- Take 1 mizuhiki cord and bend one end down and over the middle to create a pretzel shape consisting of left, middle and right sections
- Bend the other end down and insert it underneath through the right section loop, run it over the middle loop and then underneath through the left section loop.
- Pull on the loops and the ends to even out the knots and tighten it.
- Take one end of the cord and insert it underneath through an outer section, run it over the middle section then underneath through the opposite side’s outer section, pull out the ends.
- Keep inserting the end through the loops of each side sections over and over to create flower petals, take the other end of the cord and do the same.
Keep inserting the end through the loops of each side sections over and over to create flower petals - When you have 3 strings on each mizuhiki petal, cut off the excess cords and secure the loose ends with a hot glue gun.
- Use the round nose pliers to open the ends of a open jump ring, clip it onto the outermost cord of a petal and fasten it onto the bracelet chain.
Mizuhiki Hair Barrette
Materials
1 Metal Hair Barrette
1 Hot Glue Gun
Mizuhiki CordsInstructions
-
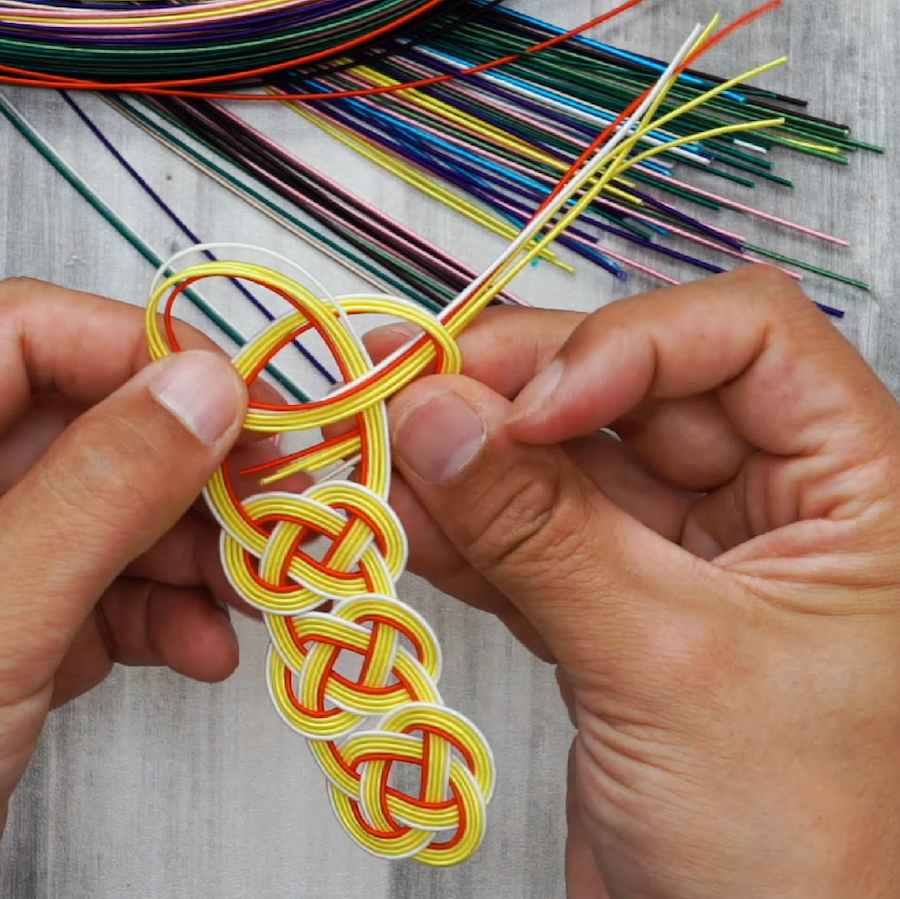
- Arrange 5 mizuhiki cords together and make a loop, bend the left end down and over the middle to create a pretzel shape consisting of left, middle and right sections.
- Bend the right end down and insert it underneath through the left section and over the middle section then underneath through the right section loop.
- Pull the ends of each cord to even it out and tighten the mizuhiki knot to around 2 inches in size.
- Bend the right side of the cords down to form a loop, bend the left side of the cords down and insert it underneath the loop, pull it out and insert it over the middle loop and underneath through the outermost loop. Pull the ends of each cord to even out the mizuhiki knot and tighten it.
- Repeat step 4 until you have at least four mizuhiki knots, cut off the remaining cord and secure the ends with hot glue gun.
Repeat step 4 until you have at least four mizuhiki knots - Attach the mizuhiki knot onto the metal hair barrette with the hot glue gun.
Video Tutorial
Follow our video tutorial above and check out our end results!
Tried making it at home? Share your results with us on Facebook, or Instagram -


