
If you own a ton of makeup and products, you’ll find these items pile up in your room and end up in a clutter. To save you the headache of working through a mess, why not try these 3 clever DIY organization hacks at home? These step-by-step guides will inspire you to create your own makeup organizer quickly, easily and at a minimal effort.
DIY Rotating Makeup Organizer
Materials
1 Glass Cup
1 Hot Glue Gun
2 Round Cake Pans
Gum Balls
Decorative Rhinestones
Instructions
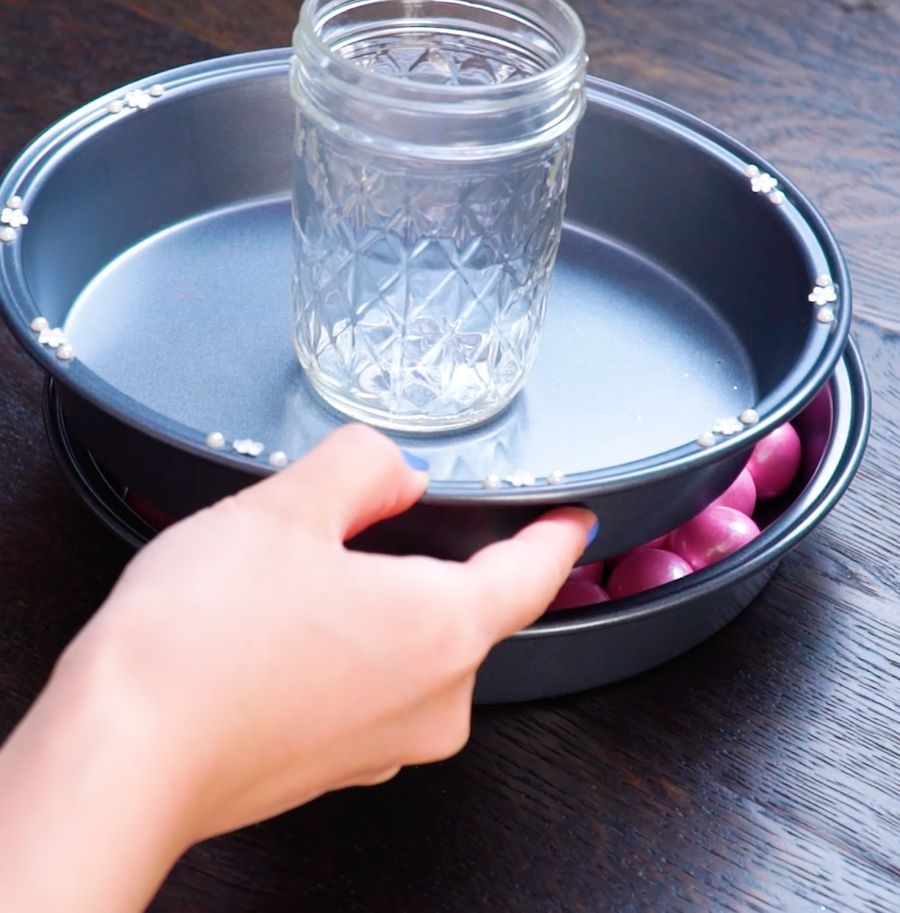
- Use the hot glue gun to attach rhinestones around the sides of the pans.
- Fill a pan with gum balls.
- Glue the glass cup on the center of the other pan, place this pan over the pan of gum balls.
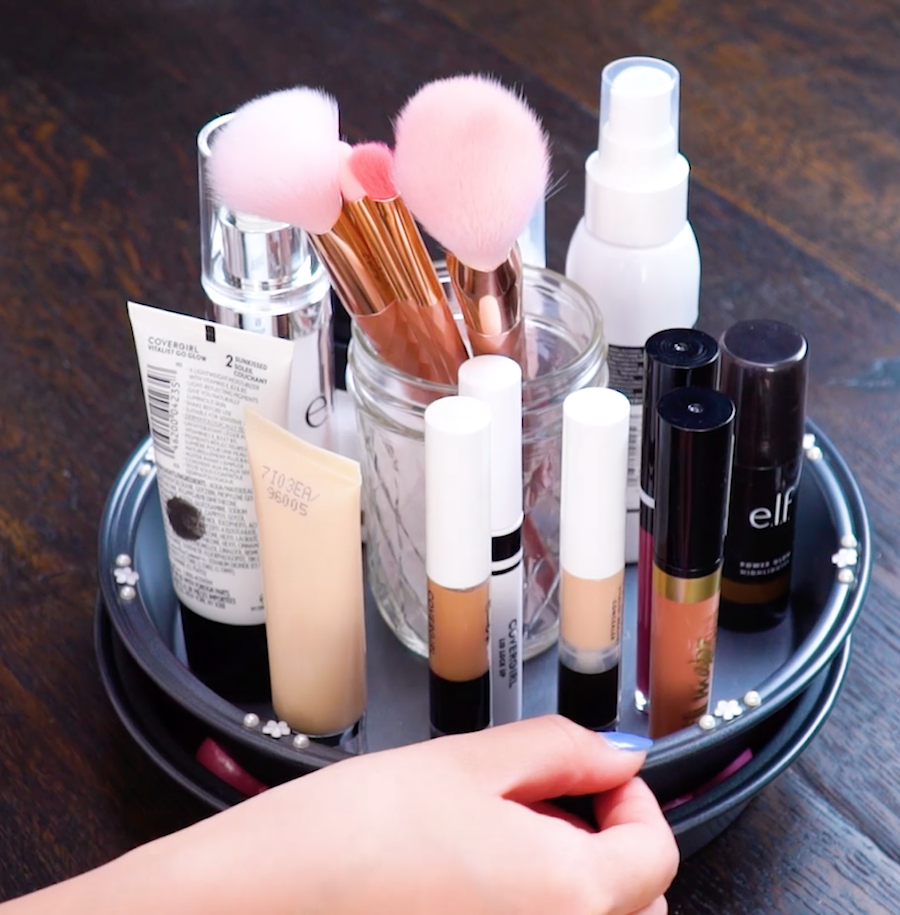
- Arrange your makeup brushes inside the glass and larger beauty products around the glass, the gum balls underneath can help you rotate the top tier and grab any items with ease.
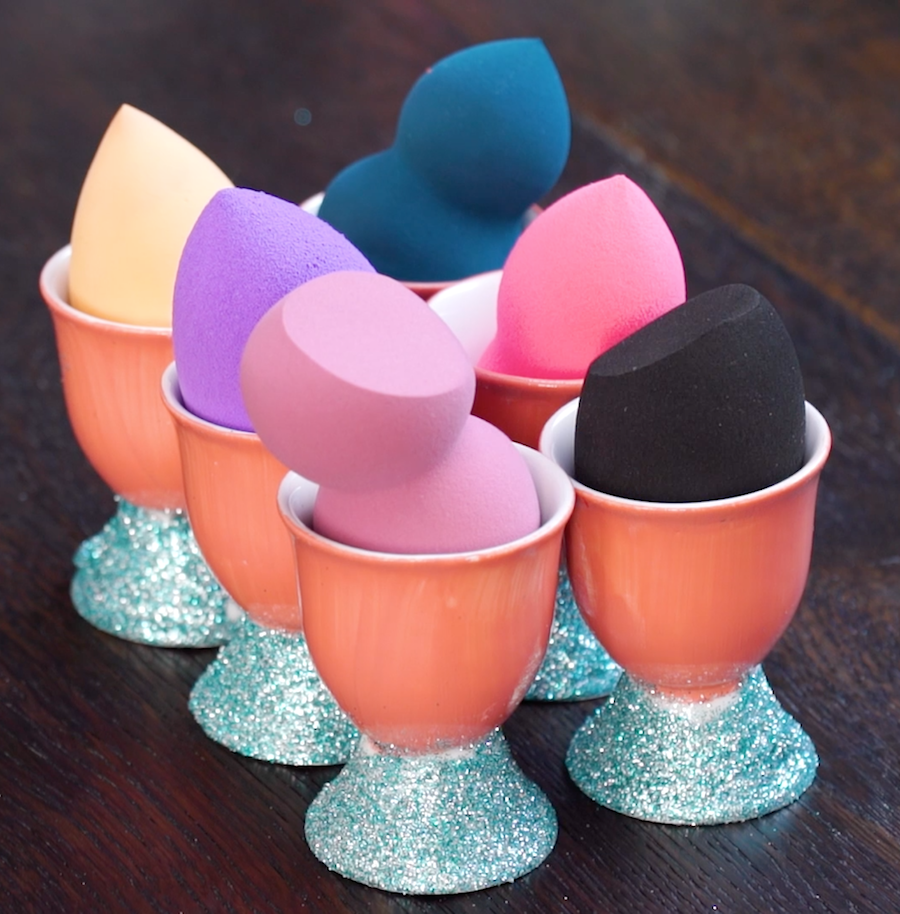
Beauty Blender Organizer Hack
Materials
1 Paint Brush
1 Hot Glue Gun
6 White Chinese Wine Cups
Glue
Glitter(Color of your choice)
Acrylic Paint (Color of your choice)
Instructions
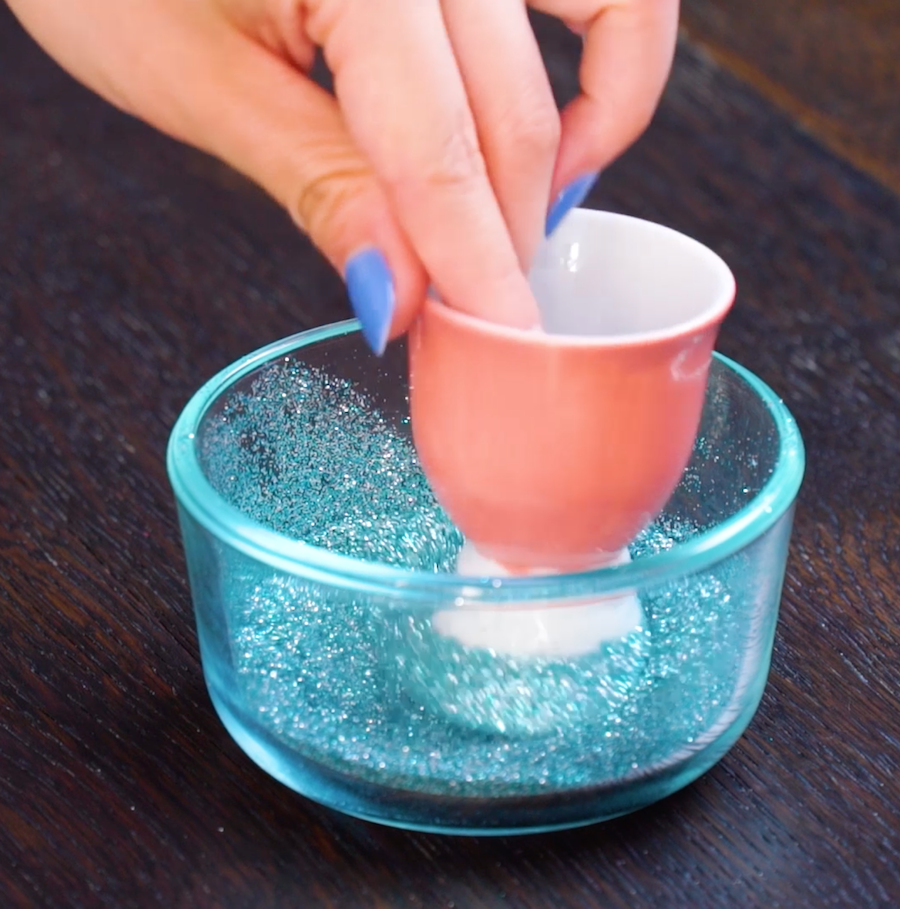
- Take a cup, dip the brush in paint and apply the paint evenly onto the areas above the cup’s base. Let it sit to dry for 30 minutes to 1 hour.
- Pour a generous amount of glitter onto a plate. Apply glue around the unpainted base area of the cup, dip the base in glitter and coat evenly. Shake off excess glitter. Repeat steps 1-2 for the remaining cups.
- Use the hot glue gun to attach 3 cups side by side into a roll, do this for the remaining 3 cups then attach the two rolls together in a group.
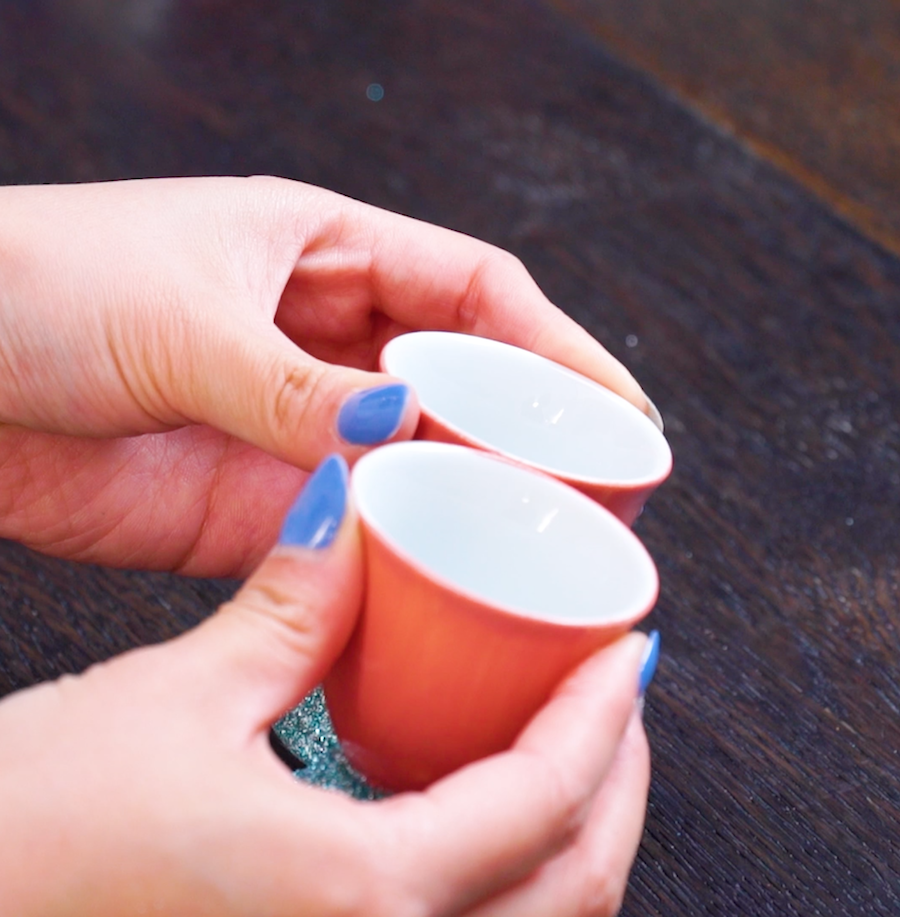
- Now you can put all your beauty blenders into those cups to have them neatly organized and easily available at your fingertips!
Clever Photo Frame Makeup Organizer
Materials
1 Metal Sheet
1 Hot Glue Gun
1 Large Photo Frame
Magnets
Decorative Paper
Instructions
- Measure and cut out the decorative paper to fit the size of the frame.
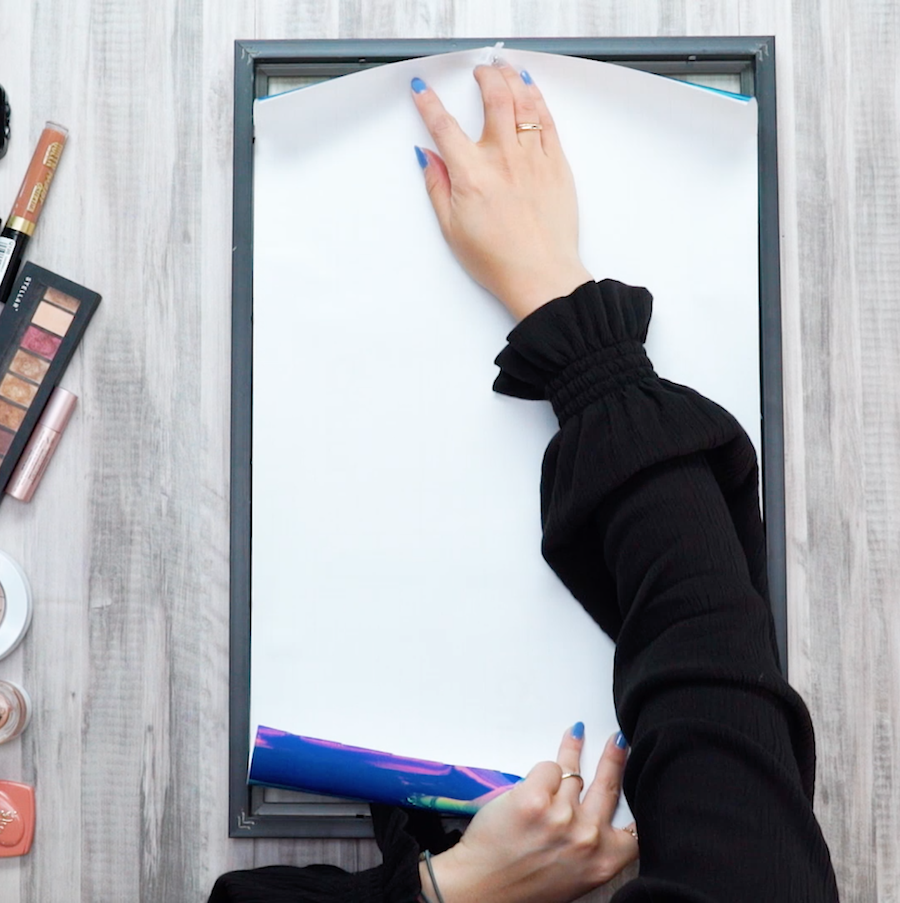
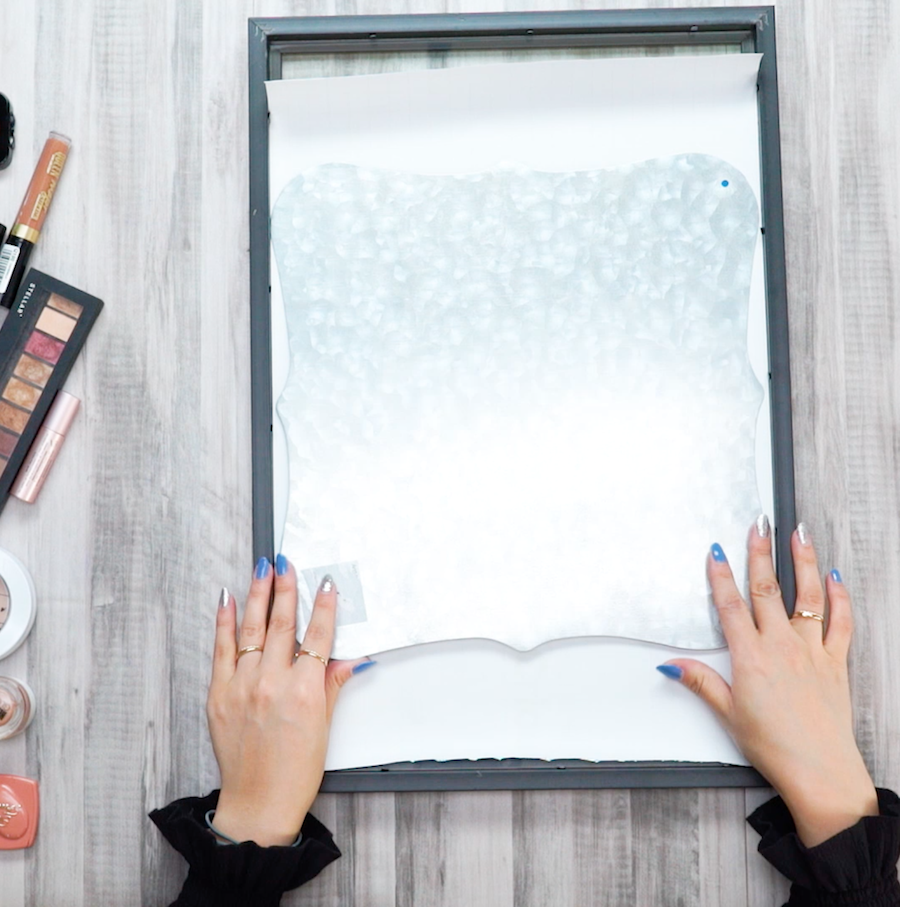
- Open the back of the frame and place the decorative paper inside, put the metal sheet over it and close the frame.
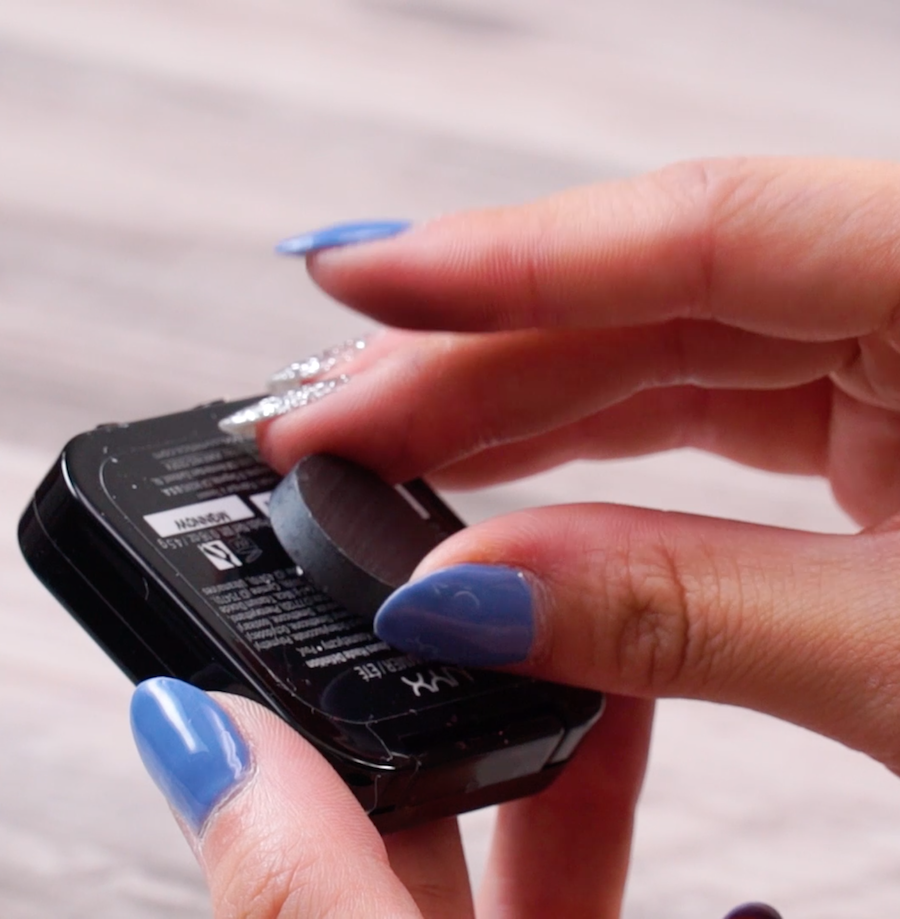
- Use the hot glue gun to attach one magnet behind each of your makeup products such as eye shadow cases, blush and foundation palettes, lipstick etc.
- Hang the frame on the wall, place your makeup products from step 3 onto the frame, the metal will attract the products and securely attach them onto the frame, isn’t this a brilliant idea to neatly and artistically display your beauty products?

Video Tutorial
Follow our video tutorial above and check out our end results!
Tried making it at home? Share your results with us on Facebook, or Instagram.

")


